
Our Core Technology
The gold standard for filler complication management · Minimally invasive · Visually guided
Why Choose Ultrasound-Guided Removal?
| Method | Visibility | Material Types | Invasiveness | Risk |
|---|---|---|---|---|
| Blind Dissolving | None (Blind) | HA Only | Injection only | Tissue atrophy / Incomplete removal |
| Surgical Excision | High (Open) | All Types | High (Large Incisions) | Scarring, Nerve damage |
| Ultrasound-Guided Pinhole | High (Real-time) | All (HA, Sculptra, Fat, PMMA) | Low (Pinhole) | Minimal |
Why Ultrasound Changes Everything
Real-time imaging transforms filler removal from guesswork into precision medicine
See What You're Treating
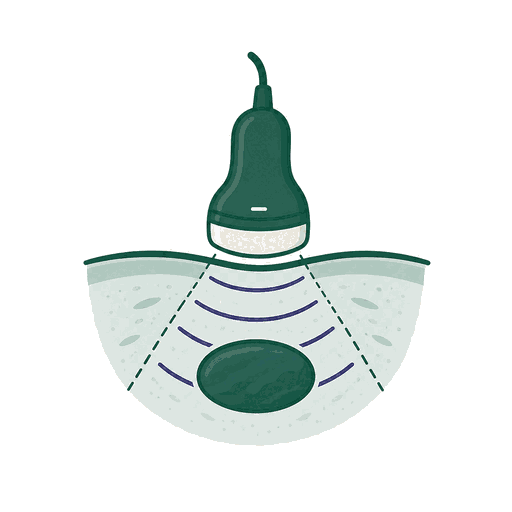
Ultrasound reveals whether filler is encapsulated, free-flowing, fragmented, or necrotic. Each pattern requires a completely different extraction strategy. Without imaging, doctors are guessing — and guessing leads to incomplete removal or tissue damage.

Protect Critical Structures
The face contains a dense network of nerves, arteries, and veins within millimeters of filler deposits. Real-time imaging lets us navigate around these structures with sub-millimeter precision, dramatically reducing the risk of nerve injury or vascular damage.

Check for Residual Material
The most common reason for 'failed' filler removal is residual material left behind. With ultrasound, we check for remaining material before the procedure ends — you don't need to come back wondering why there's still a lump.

Material Classification Drives Treatment
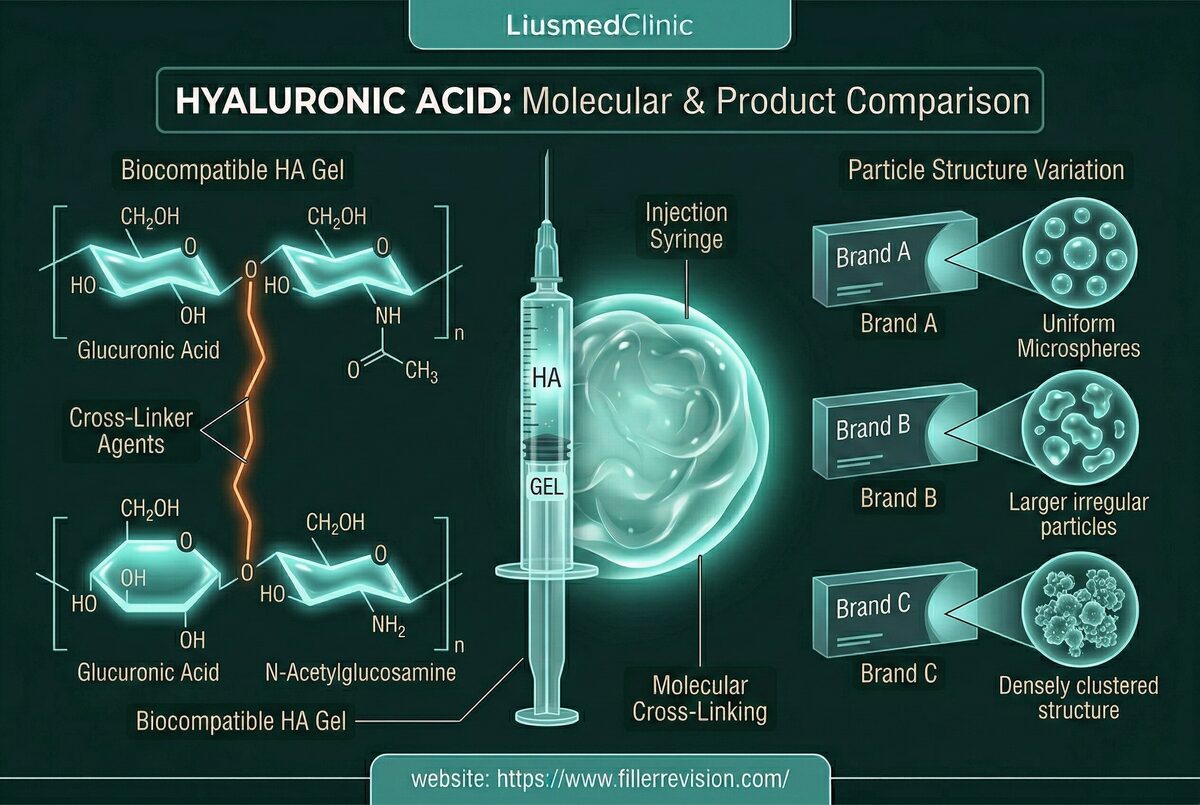
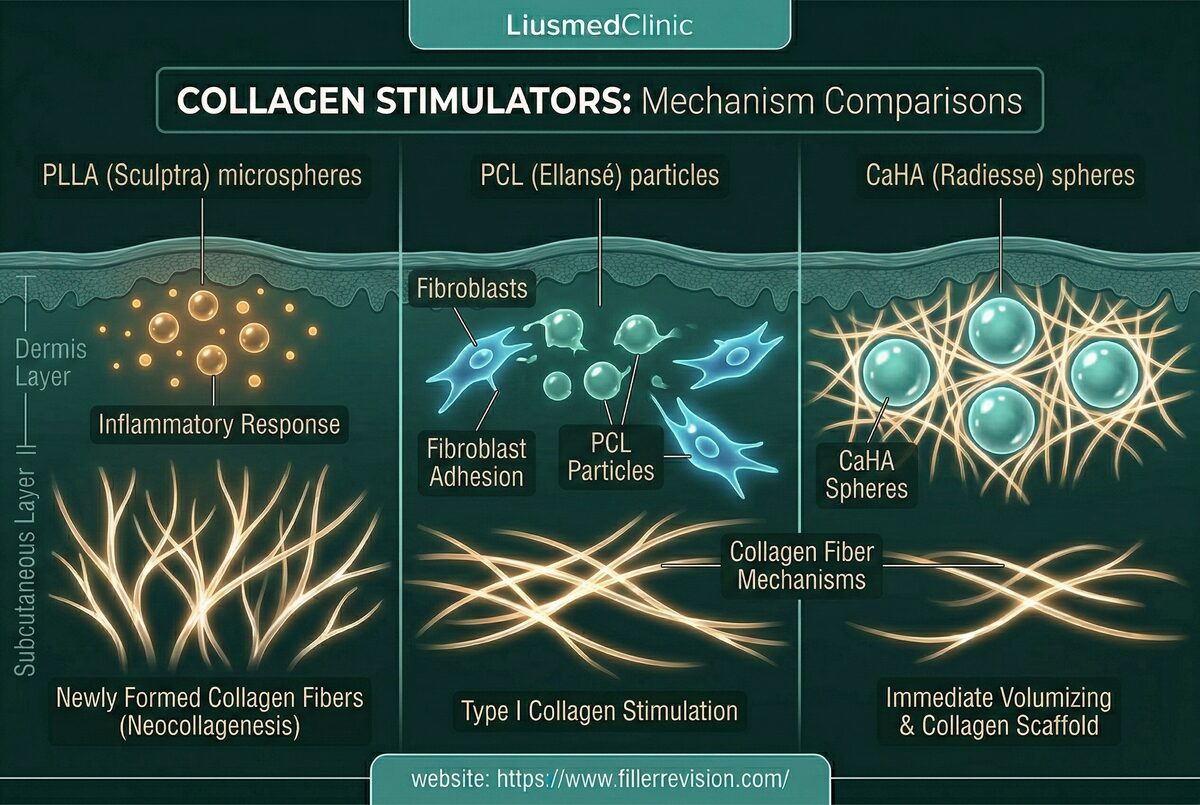
HA, collagen stimulators, fat, silicone, and PMMA all look different on ultrasound. This classification determines the optimal extraction technique: enzyme flush for accessible HA, mechanical fragmentation for Sculptra nodules, progressive debulking for permanent fillers.
The Procedure
Four precision steps, from diagnosis to ultrasound check of what remains

1. Ultrasound Mapping
We use high-frequency ultrasound to map the exact depth, volume, and location of the filler material relative to blood vessels and nerves. This diagnostic phase identifies whether material is encapsulated, free-flowing, or fragmented — each requiring a different extraction strategy. The ultrasound also reveals any vascular compromise or tissue changes that affect our approach.
Different filler materials have distinct ultrasound signatures, allowing us to classify the problem before we begin.

2. Micro-Dissection
Under real-time ultrasound guidance, precision instruments create a safe dissection plane along tissue layers, pushing nerves, vessels, and other vital structures away from the filler/granuloma. This step ensures surrounding healthy tissue is protected during extraction. For encapsulated material, micro-dissection precisely defines the capsule boundary so we can extract it intact.
Working along anatomical planes under ultrasound visualization allows safe operation even millimeters from nerves and vessels.
3. Micro-Fragmentation
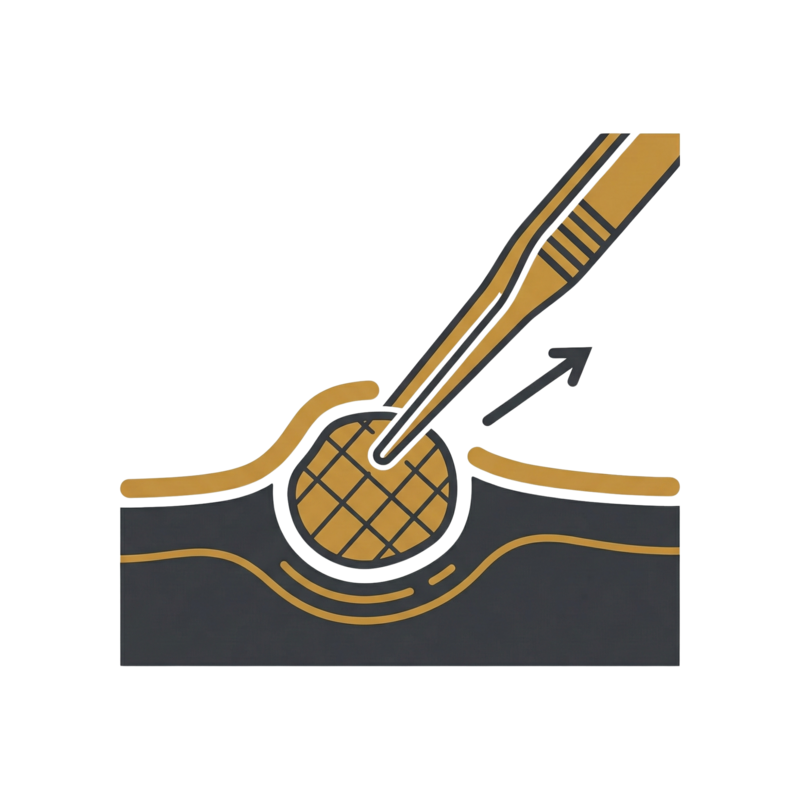
For solid materials or hard nodules, we use specialized energy or mechanical instruments to break the material into extractable pieces. The technique varies by material — collagen stimulators require different fragmentation than silicone or calcified fat. Throughout this step, ultrasound monitoring ensures we're targeting only foreign material.
This is where material-specific expertise matters most: each filler type has optimal fragmentation parameters.

4. Pinhole Extraction
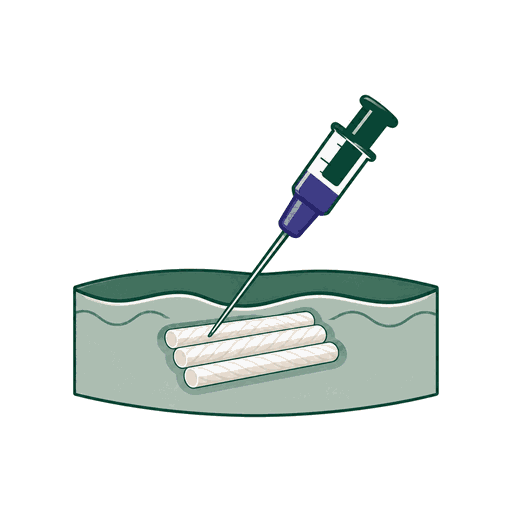
Through a needle-sized entry point, the material is flushed and aspirated out. No scalpel, no stitches — but swelling and bruising are still expected, usually settling in about 2–3 weeks. Real-time ultrasound checks for remaining material before we finish — you don't leave wondering if material was left behind. The entry point is typically 1-2mm; it heals in about two weeks and is usually barely visible afterwards.
We check the result with post-procedure ultrasound imaging and document any remaining material.

By Complication Type
Revision protocols classified by complication type
Lumps & Granulomas
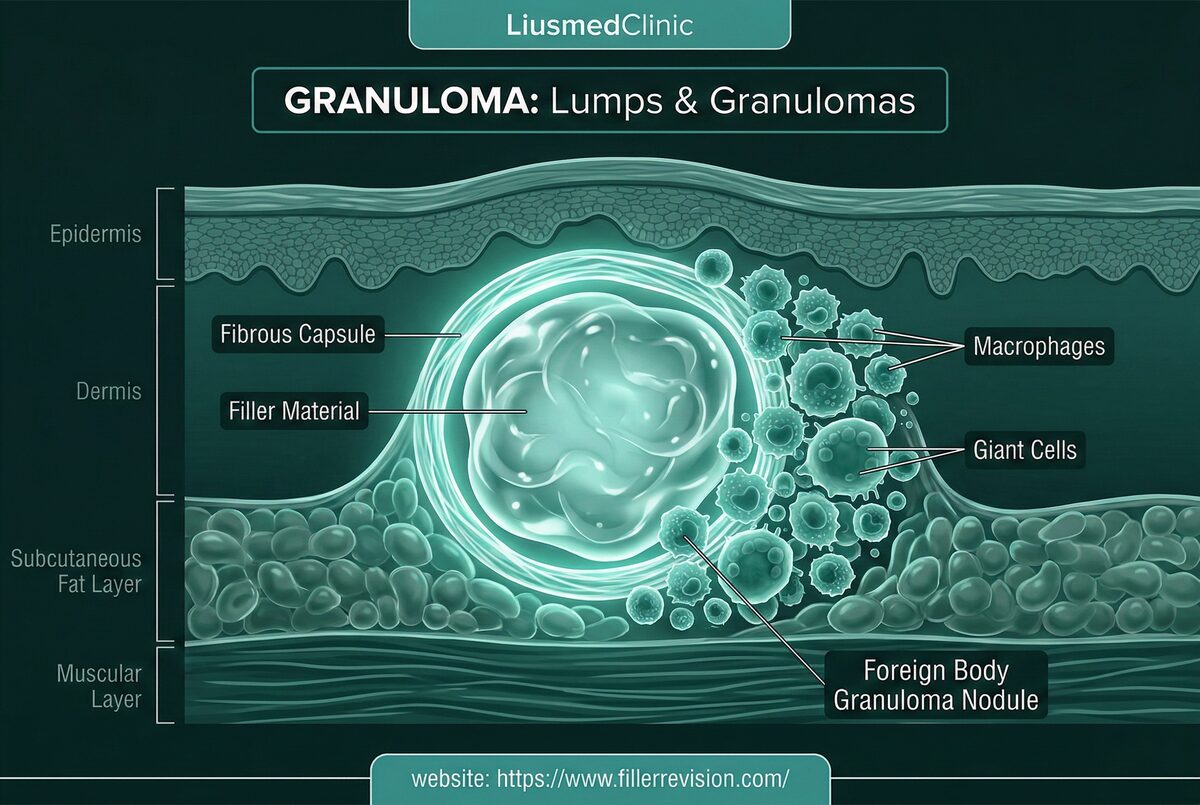
Hardened immune reactions.
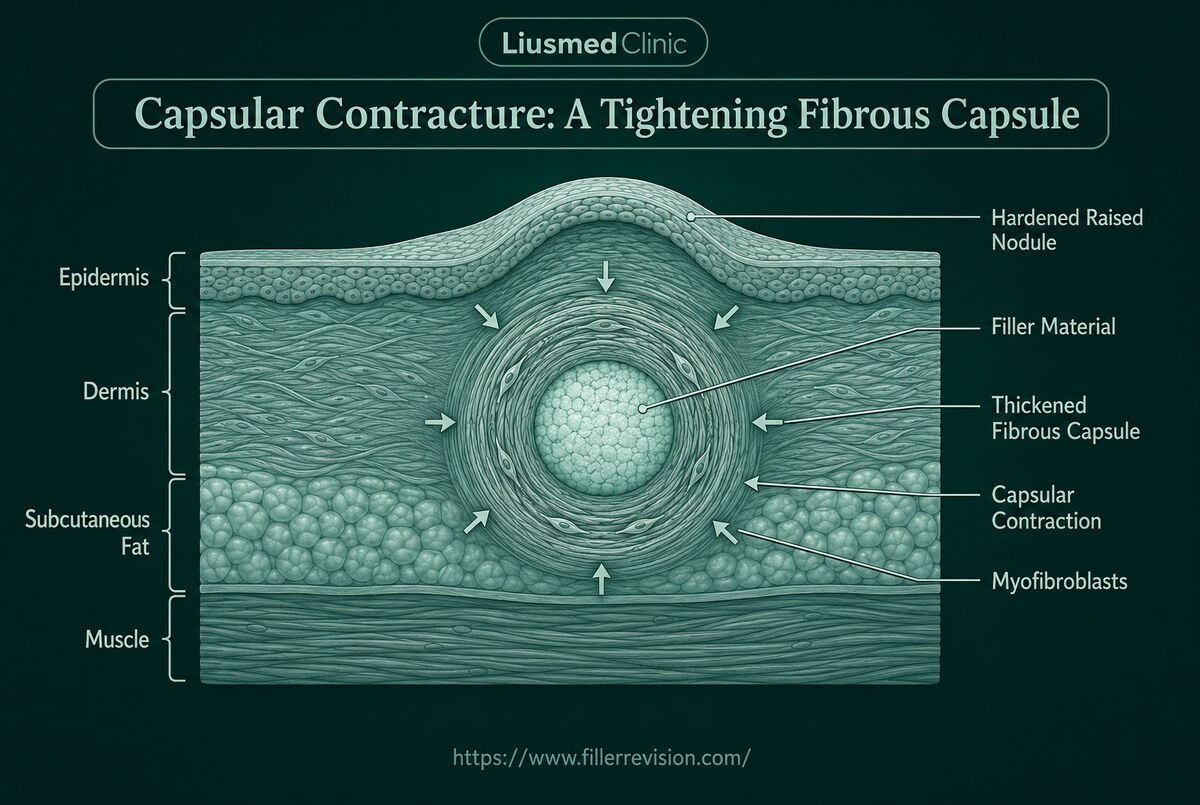

Capsular Contracture
Hardening, contracting capsule.
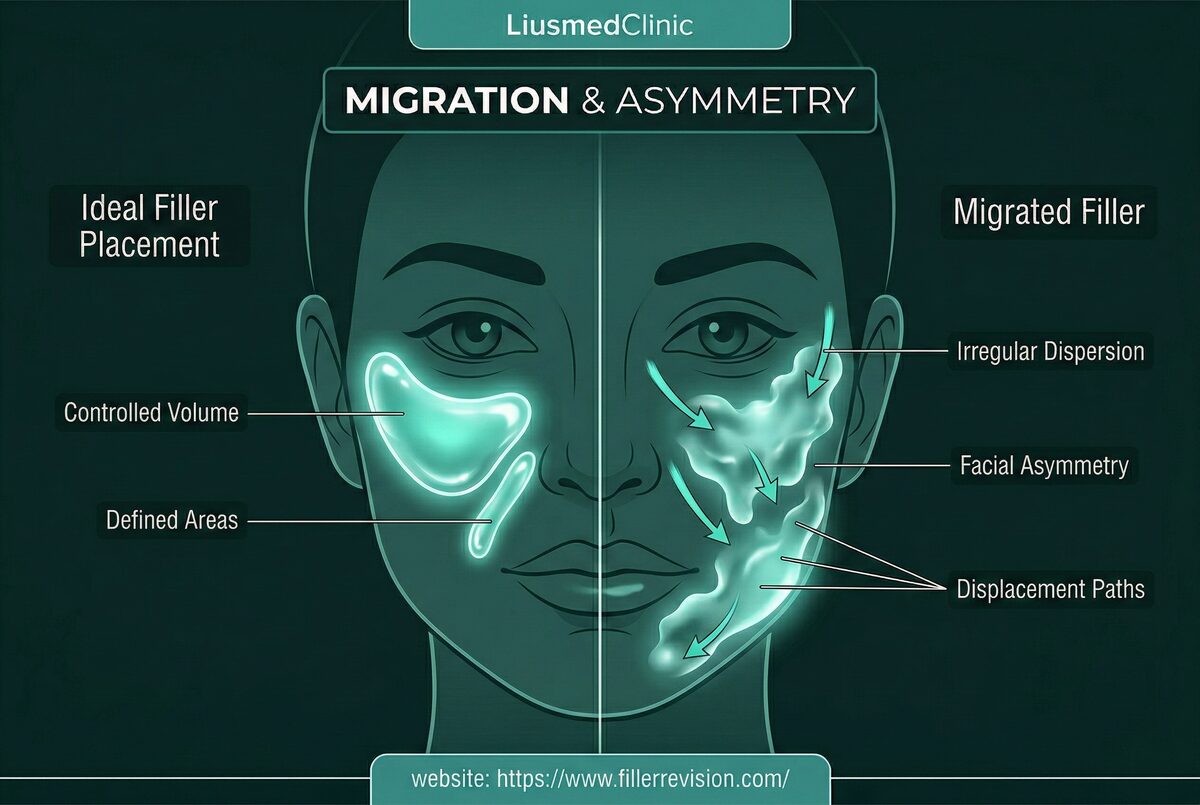
Migration & Asymmetry
Displaced material correction.
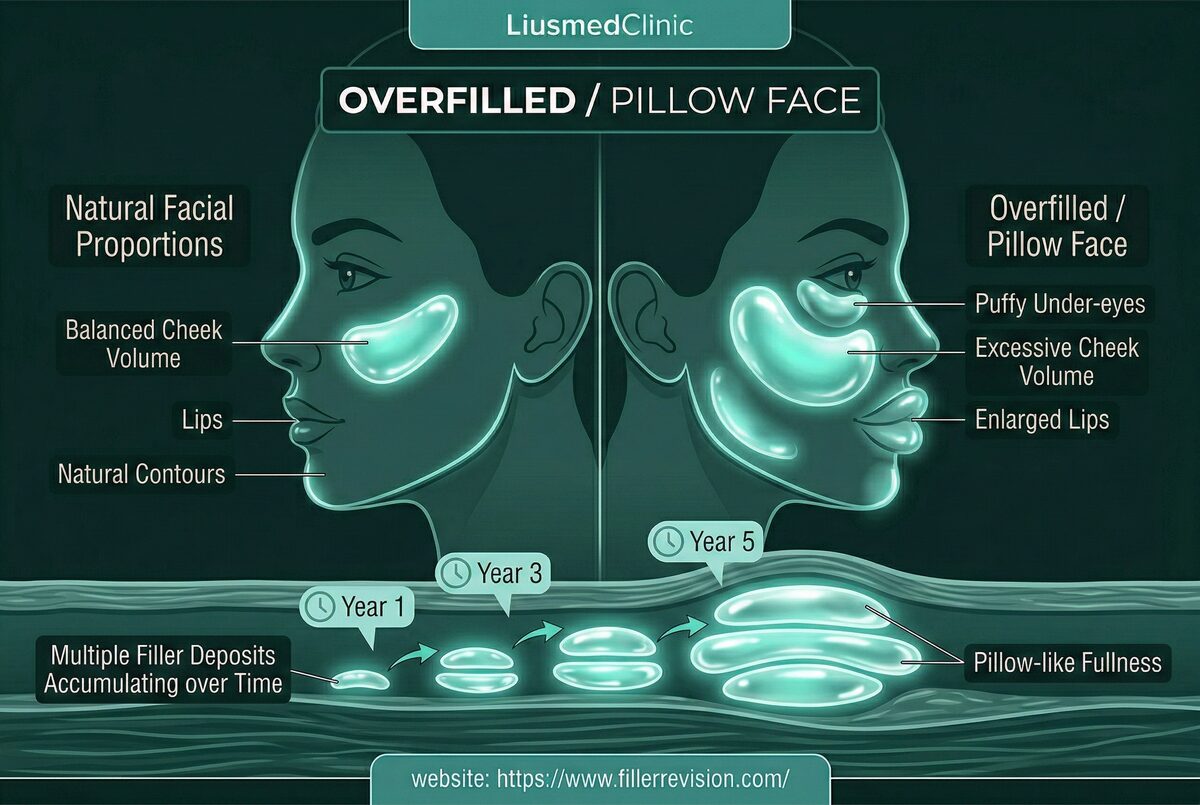

Overfilled Syndrome
Pillow face / Avatar nose.
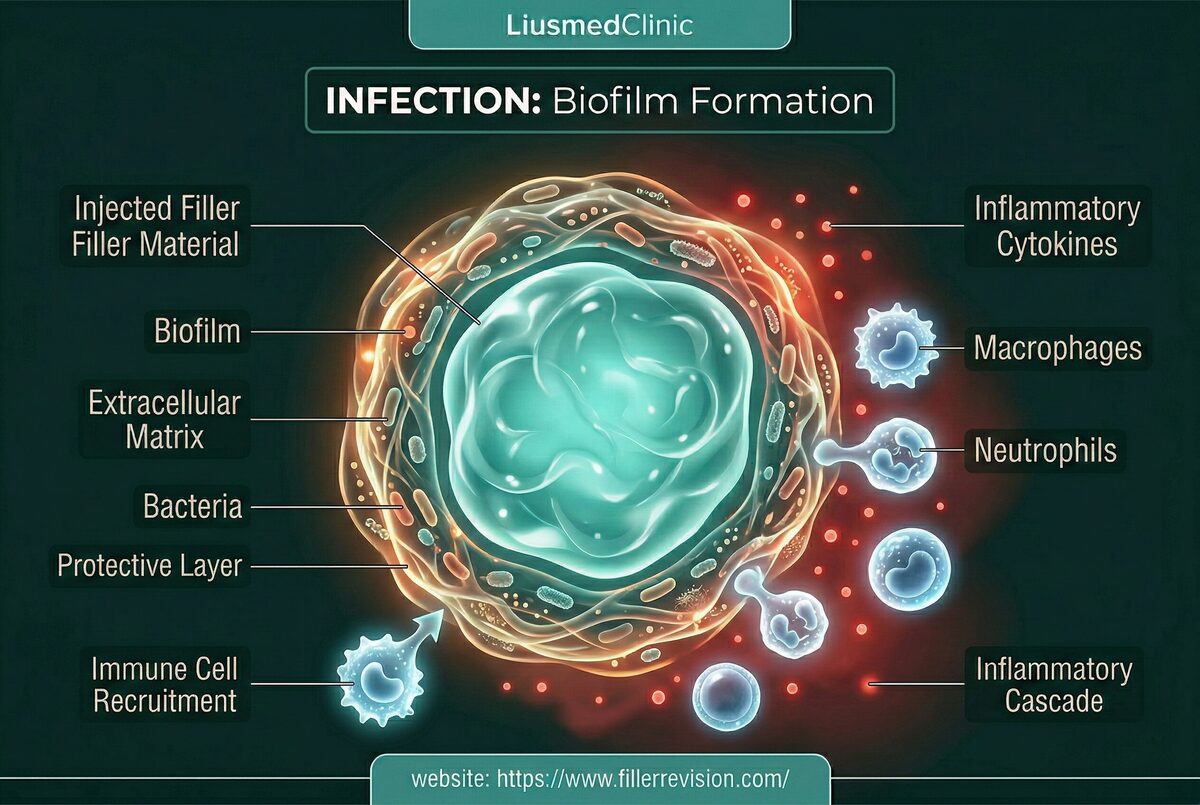

Infection & Biofilms
Chronic, recurrent swelling.
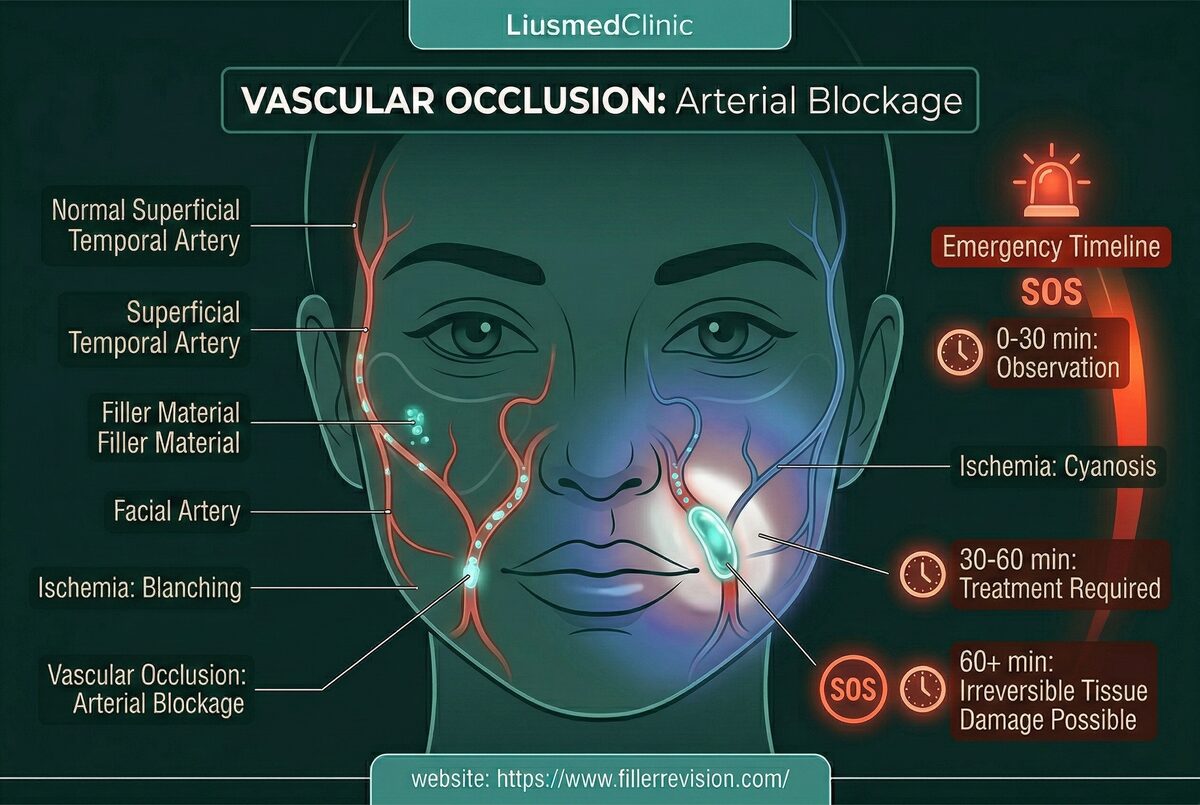
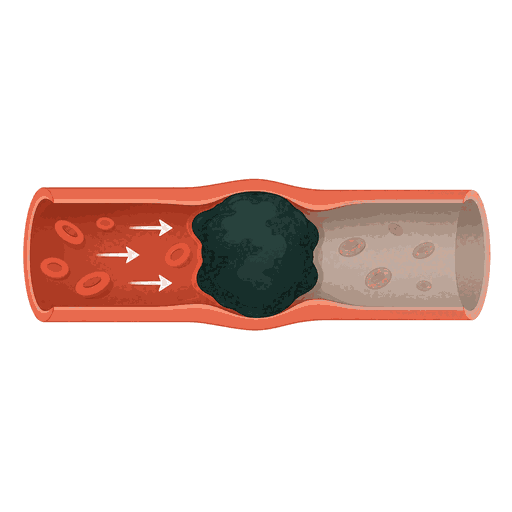
Vascular Occlusion
Post-occlusion recovery & scar repair.

Facial Asymmetry
Balancing filler made it worse.
By Material
Revision protocols classified by filler material type
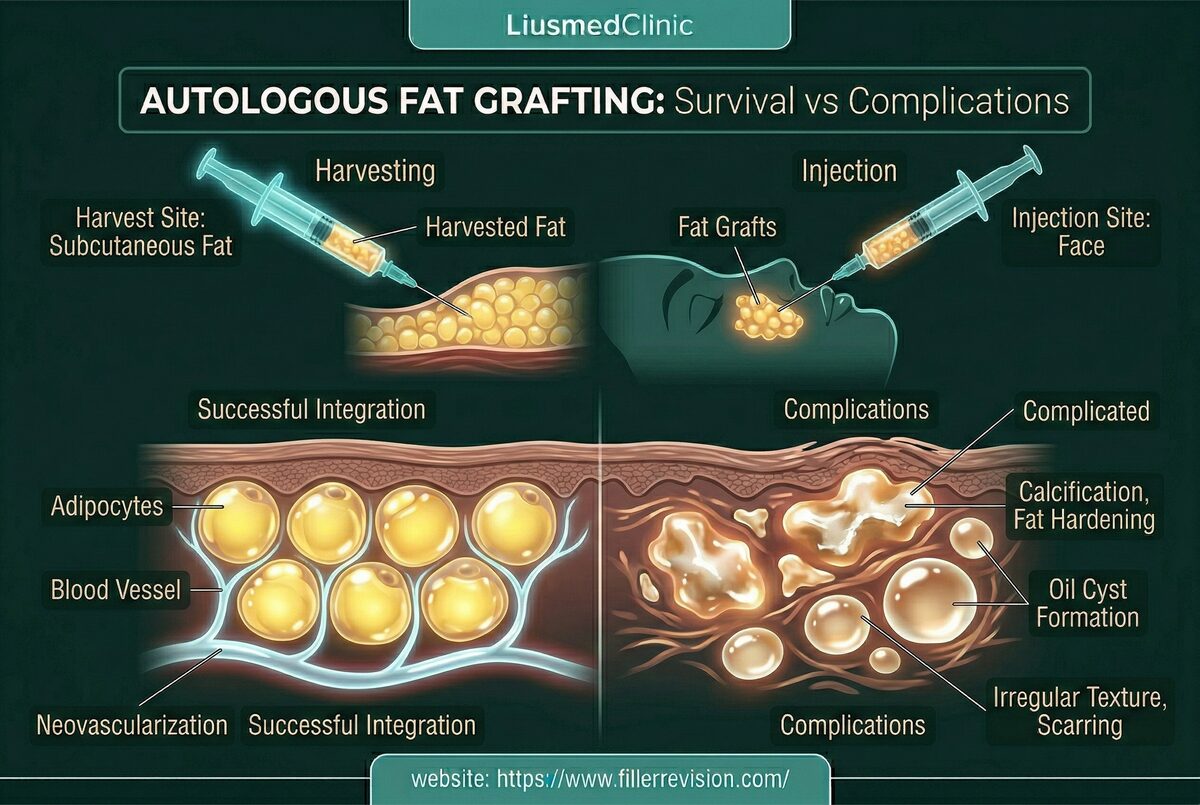
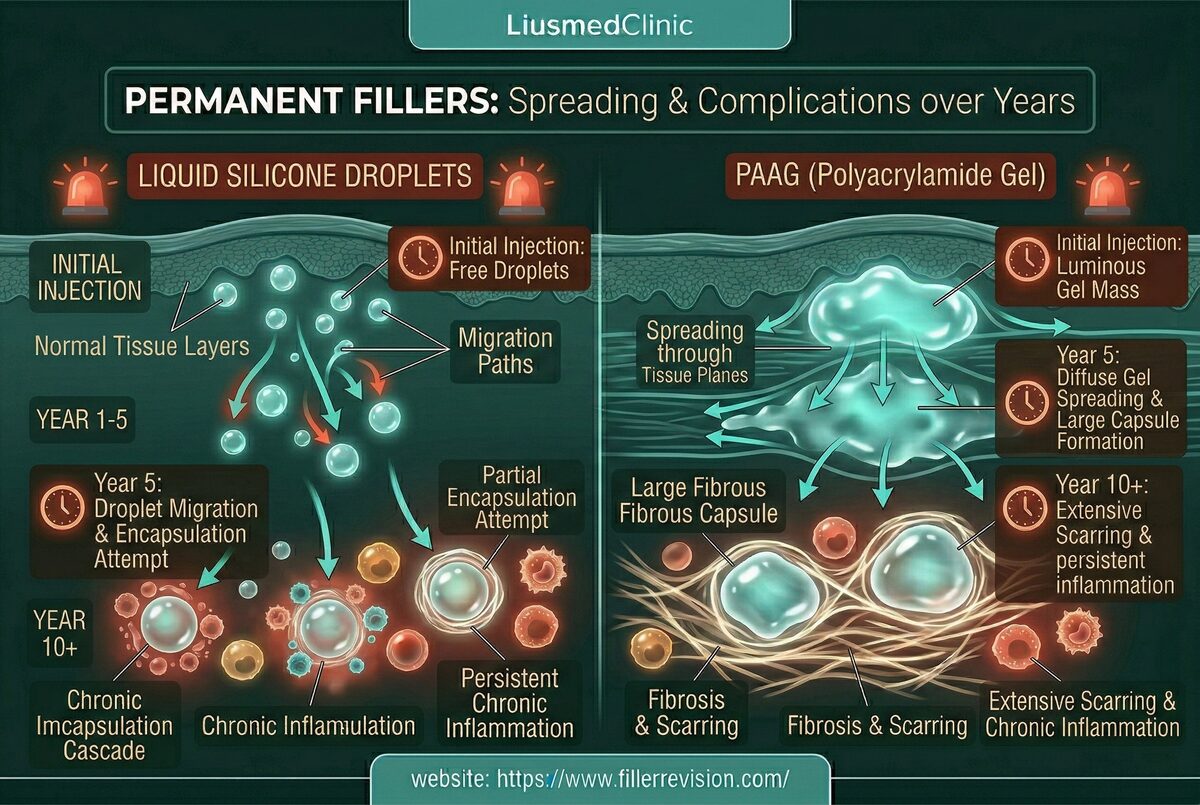

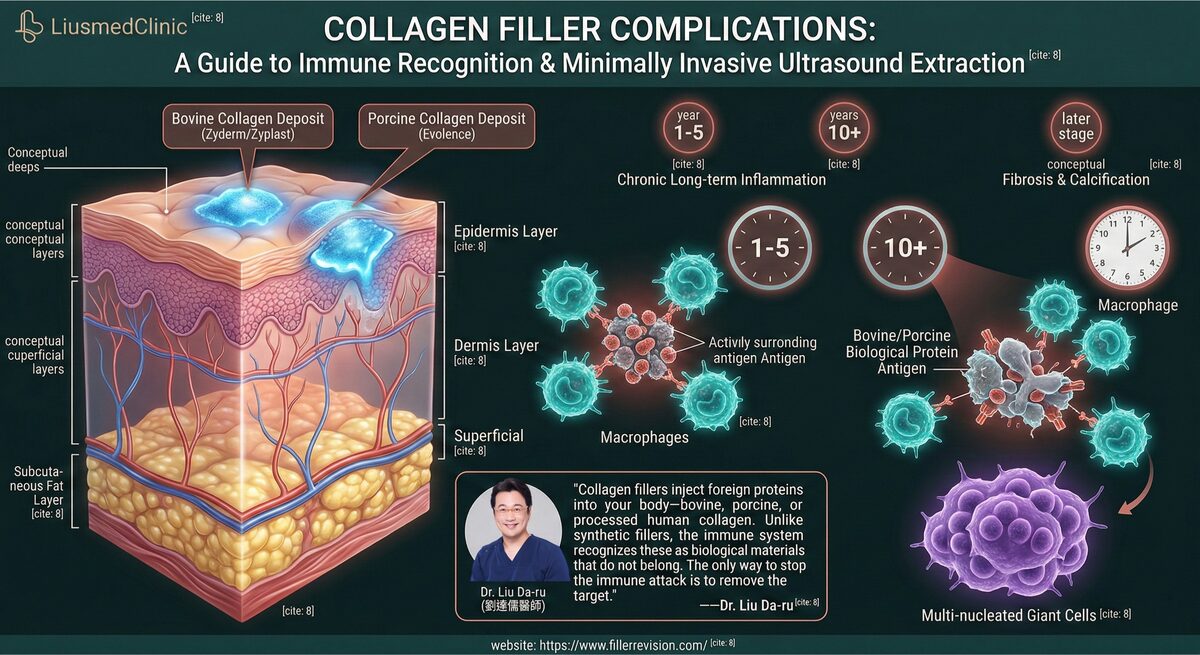
Featured Poster
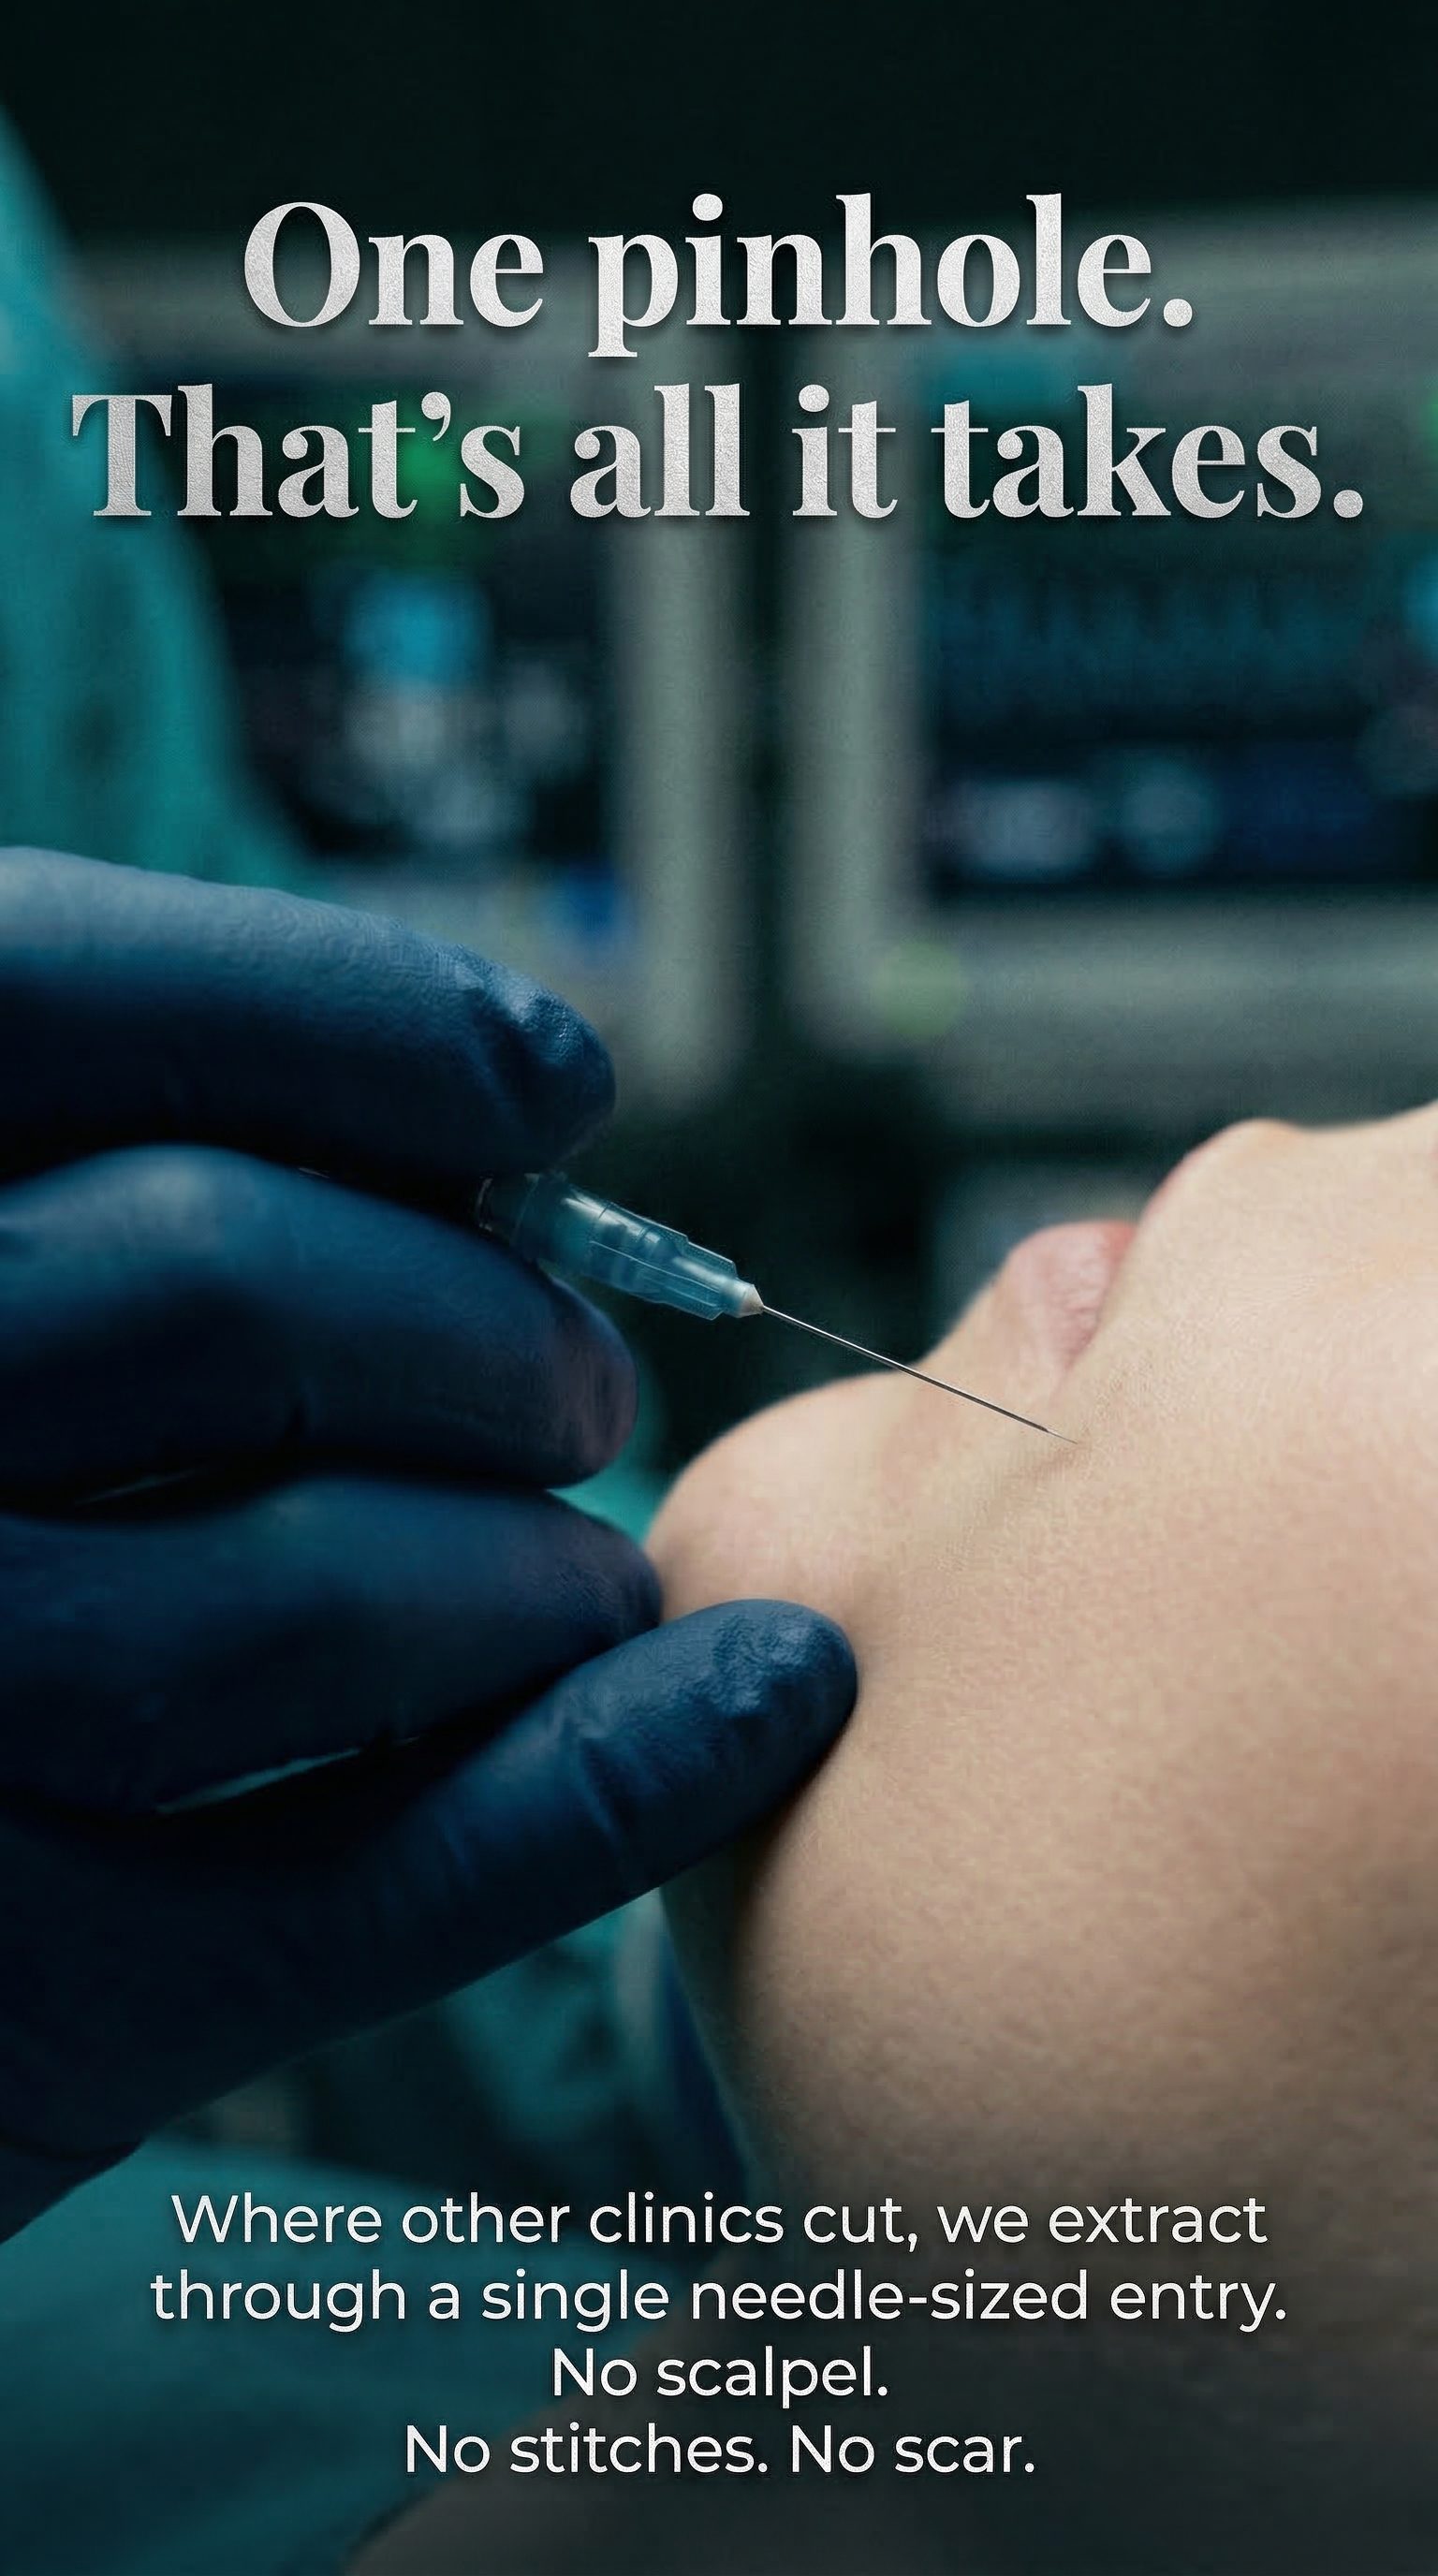
A 2 mm pinhole. No incision.
Ultrasound shows where the filler sits; we remove it through a pinhole — no incision, no stitches. Larger areas are treated in zones or stages, still through pinholes. The pinhole heals in about 2 weeks; swelling and bruising settle in about 2–3 weeks.

A small pinhole — and an honest recovery.
The pinhole is small and needs no stitches, but this is an extraction, so swelling and bruising are expected. Swelling and bruising usually settle in about 2–3 weeks, the pinhole heals in about 2 weeks, and the final result takes about 3 months, varying from person to person.
Frequently Asked Questions
Most procedures take 30-90 minutes depending on the volume and type of material, the number of areas treated, and whether the filler is encapsulated. Complex cases with multiple filler types or extensive migration may require longer sessions.
We use local anesthesia plus gentle pain-relief anesthesia for extraction procedures, so you'll feel pressure, and pain is greatly reduced, during the extraction. Most patients describe it as less uncomfortable than the original filler injection. Post-procedure soreness is usually mild.
The pinhole is small, but this is an extraction, so swelling and bruising are expected: they usually settle in about 2–3 weeks, the pinhole heals in about 2 weeks, and the final result takes about 3 months, varying from person to person. We provide detailed aftercare instructions and a follow-up ultrasound to check the result and any remaining material. Strenuous exercise should be avoided for 1-2 weeks.
Yes. Our ultrasound-guided technique works on all injectable materials: hyaluronic acid (Juvederm, Restylane), collagen stimulators (Sculptra, Ellansé), calcium hydroxylapatite (Radiesse), fat grafting, silicone, PMMA, and other permanent fillers. The technique is adapted for each material type.
It depends on the extent and depth. Some cases can be handled in one session; others — such as extensive permanent filler deposits or multiple treatment areas — need to be done zone by zone or in stages for safety. We can't guarantee 100% removal; the goal is as much improvement as can be achieved safely.
The entry point is approximately 1-2mm (needle-sized); it heals in about two weeks and is usually barely visible afterwards, though scarring varies with the individual. Unlike surgical excision, which requires incisions of 1-5cm, there is no long incision — one of the key advantages over traditional surgical approaches.
Many patients come to us after being told their situation is hopeless. 'Untreatable' usually means the previous doctor didn't have the right tools. Blind injection techniques fail when capsules form around filler. Our ultrasound-guided approach physically removes encapsulated material — this is why it works when dissolving agents don't.
The information on this website is for educational purposes only and does not constitute medical advice. Individual results may vary depending on personal conditions; actual outcomes cannot be guaranteed. All medical procedures carry potential risks and complications. Please consult a qualified physician before making any treatment decisions.
Not sure what is going on? Write it down and ask.
Describe what was injected, when, and what you are seeing now. Dr. Liu replies in the thread with an educational explanation of what it might be, what needs to be told apart, and which signs mean you should be seen soon. Posting can be anonymous, and other patients with the same problem can read the answer too.
Replies are general health education, not a diagnosis, and do not replace an in-person examination.