A "See Before You Treat" Revision Philosophy
"I've tried dissolving enzymes three times and the filler is still there. My doctor says there's nothing more they can do." If this sounds familiar, the problem is not your filler — it is the approach. At FILLER REVISION, we developed our core technique to solve exactly this kind of failure. In the field of filler revision, the most common cause of failure is not insufficient surgical skill — it is inability to see the target. Traditional approaches such as blind dissolving injections, unsighted curettage, and even open surgical excision all share one critical flaw: the physician cannot confirm the exact location, extent, and depth of the filler material in real time during the procedure.
Liusmed Clinic's Ultrasound (Ultrasonography)-Guided Pinhole Extraction was developed to address this fundamental problem. Its design philosophy can be summarized in one phrase: "See before you treat."
Key Insight: At FILLER REVISION, we've proven through thousands of cases that the success or failure of revision surgery often depends not on how skilled the surgeon's hands are, but on whether the exact position, morphology, and tissue relationships of the filler can be precisely mapped before and during the operation. Our ultrasound guidance provides exactly this critical information.
Three Core Elements in the Technique Name
The full name of this technique contains three key concepts, each representing a specific clinical principle:
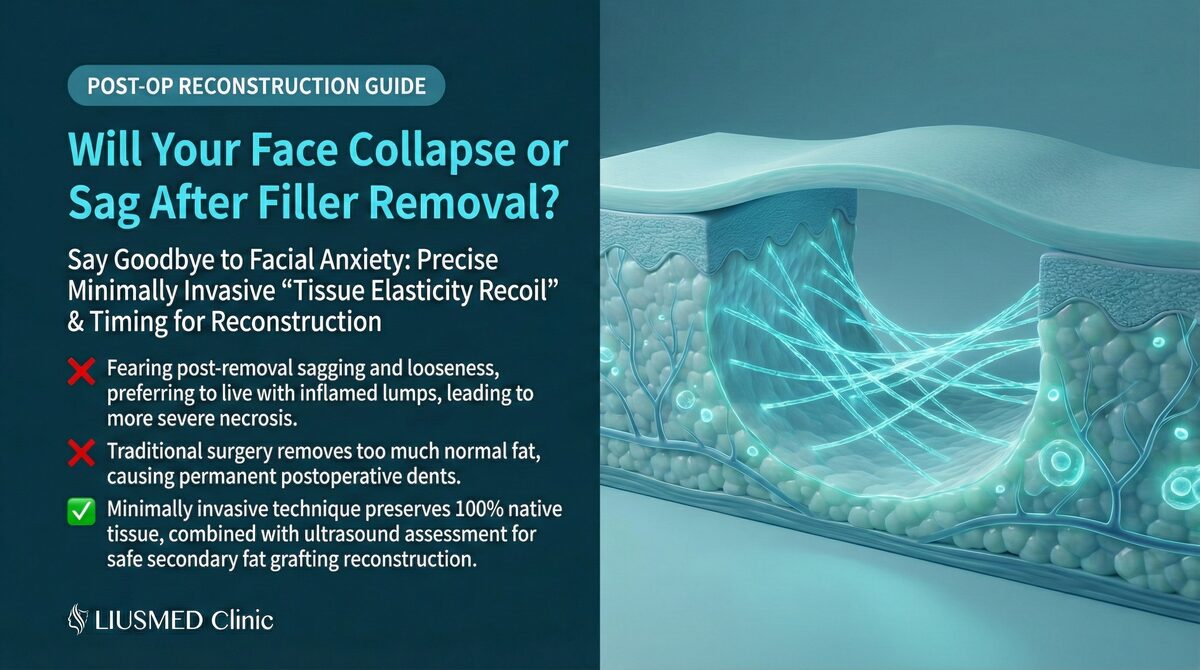
"Minimally Invasive" — The Principle of Wound Minimization
Minimally invasive is not merely a synonym for a small wound. In this technique, it means:
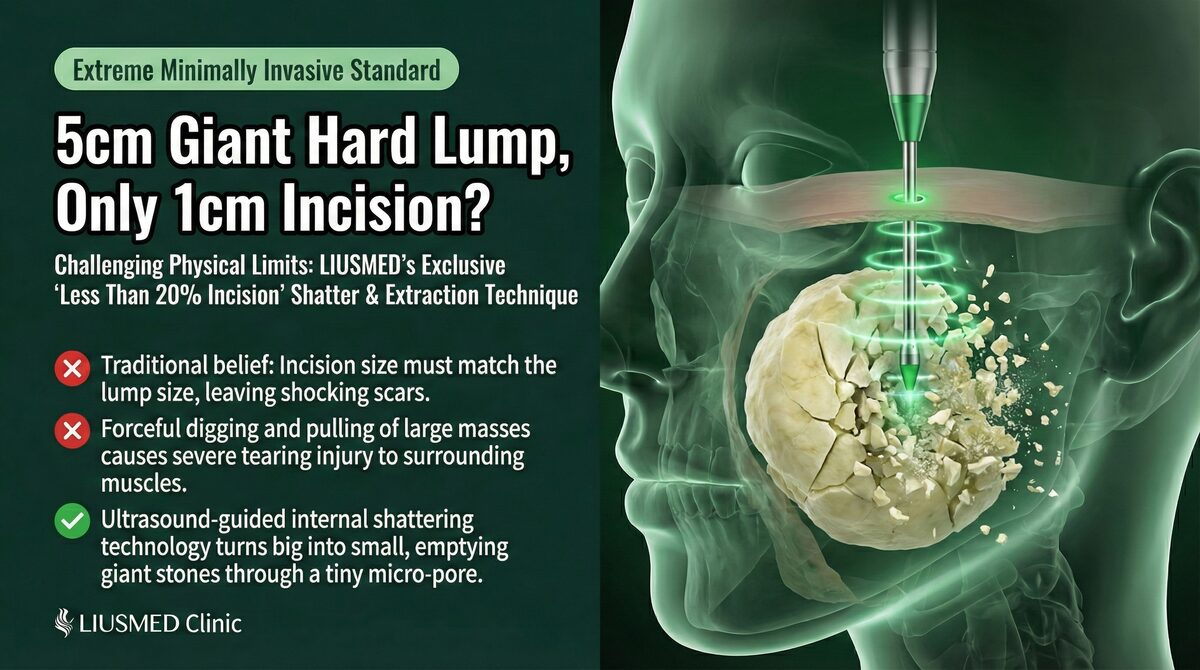
- Incision size does not exceed 20% of the lesion area: For example, a 5 cm lump requires only approximately 1 cm incision
- Minimal tissue disruption: No skin flap elevation, no large-area dissection
- Shortened recovery: Most patients resume daily activities within 3–5 days
- Nearly invisible scarring: Pinhole-sized incisions heal with virtually no visible trace
"Ultrasound-Guided" — Real-Time Imaging Navigation
High-resolution ultrasound serves as the "navigation system" throughout the entire procedure:
← Swipe to see more →
| Surgical Phase | Ultrasound Function |
|---|---|
| Pre-operative assessment | Confirm filler location, size, depth, and relationship to surrounding tissues |
| Intra-operative guidance | Real-time monitoring of instrument position to ensure precision |
| Intra-operative verification | Immediate scanning after each portion is removed to check residual status |
| Post-operative confirmation | Verify complete filler clearance with no residual material |
"Pinhole Extraction" — The Ultimate Minimal Access
"Pinhole" is not a metaphor but an actual description of the surgical access. Through a single micro-incision, combined with specialized instruments and ultrasound guidance, it is possible to address filler deposits across a considerable area, including multi-layer lesions at different depths.
Technical Principles: How Does Ultrasound "See" Fillers?
Ultrasound Imaging Characteristics of Different Fillers
Each filler type presents distinct imaging characteristics on ultrasound — this is the foundation of precise localization:
← Swipe to see more →
| Filler Type | Ultrasound Appearance | Identification Difficulty |
|---|---|---|
| Hyaluronic Acid | Anechoic or hypoechoic zones with clear boundaries | Easier |
| Radiesse (CaHA) | Hyperechoic granules with posterior acoustic shadowing | Easy |
| Ellanse | Medium echogenicity, may show calcification foci | Moderate |
| Sculptra (PLLA) | Hypoechoic nodules, possibly with fibrous capsule | Moderate |
| Silicone/Oil | Hyperechoic with "snowstorm" scatter pattern | Difficult |
| PMMA (Polymethyl Methacrylate) | Strongly hyperechoic granules with posterior shadowing | Moderate |
| Autologous fat (calcified) | Calcification foci hyperechoic, oil cysts hypoechoic | Moderate |
Key Insight: Ultrasound does not merely "find" the filler — more importantly, it delineates the boundary between filler and normal tissue. This boundary discrimination capability is the key to achieving thorough removal without damaging surrounding healthy structures.
Ultrasound Compared to Other Imaging Modalities
← Swipe to see more →
| Comparison | High-Resolution Ultrasound | CT (Computed Tomography) Scan | MRI (Magnetic Resonance Imaging) |
|---|---|---|---|
| Real-time capability | Dynamic real-time imaging | Requires scheduling, static images | Requires scheduling, static images |
| Intra-operative use | ✅ Real-time guidance possible | ❌ Not usable during surgery | ❌ Not usable during surgery |
| Soft tissue resolution | Excellent | Moderate | Excellent |
| Radiation | None | Yes | None |
| Cost | Lower | Higher | High |
| Repeat examinations | Can repeat any time | Limited frequency | Repeatable but time-consuming |
Step-by-Step Procedure
Step 1: Comprehensive Ultrasound Scanning and Mapping
Before the procedure begins, the physician performs a systematic ultrasound scan of the entire treatment area to create a "distribution map" of the filler:
- Record the coordinate position of each filler deposit
- Measure the size and depth of each deposit
- Assess the relationship of filler to nerves and blood vessels
- Plan the optimal entry path and extraction sequence
Step 2: Micro-Incision Design
Based on scanning results, the incision is designed at the most advantageous location. Considerations include:
- Utilizing natural creases or concealed locations whenever possible
- Selecting an angle that covers the maximum extraction area
- Avoiding the course of important nerves and vessels
- Strictly controlling incision size to within 20% of the lesion area
Step 3: Extraction Under Real-Time Ultrasound Guidance
This is the most critical step. The physician holds the ultrasound probe in one hand and operates the extraction instrument with the other:
- The ultrasound screen displays the instrument tip position in real time
- Confirms the instrument has reached the filler deposit
- Separates filler from normal tissue under direct visualization
- Progressively removes the filler while avoiding unnecessary damage to surrounding tissue
Step 4: Real-Time Verification and Supplementary Clearance
After each area is addressed, immediate ultrasound re-scanning is performed:
- Confirm that filler in the treated area has been cleared
- Check for any missed residual material
- If residual is found, perform supplementary clearance immediately
- Continue until ultrasound imaging confirms clean results
Step 5: Post-Operative Ultrasound Verification
After all extraction is complete, a final ultrasound scan verifies:
- All marked areas have been cleared of filler
- No unexpected residual material remains
- Surrounding tissues are intact without excessive damage
Three Major Indications: What Can This Technique Address?
Ultrasound-Guided Pinhole Extraction covers three major categories of clinical situations:
1. Filler Complication Revision
Problems caused by various injectable fillers, including lumps, migration, and aesthetic irregularities. This is the most common indication — see Filler Lump Extraction Technique for details.
2. Fat Graft Revision
Problems following fat transfer, such as fat calcification, oil cysts, and aesthetic issues from excess fat volume. For more information, see our Fat Graft Revision Service.
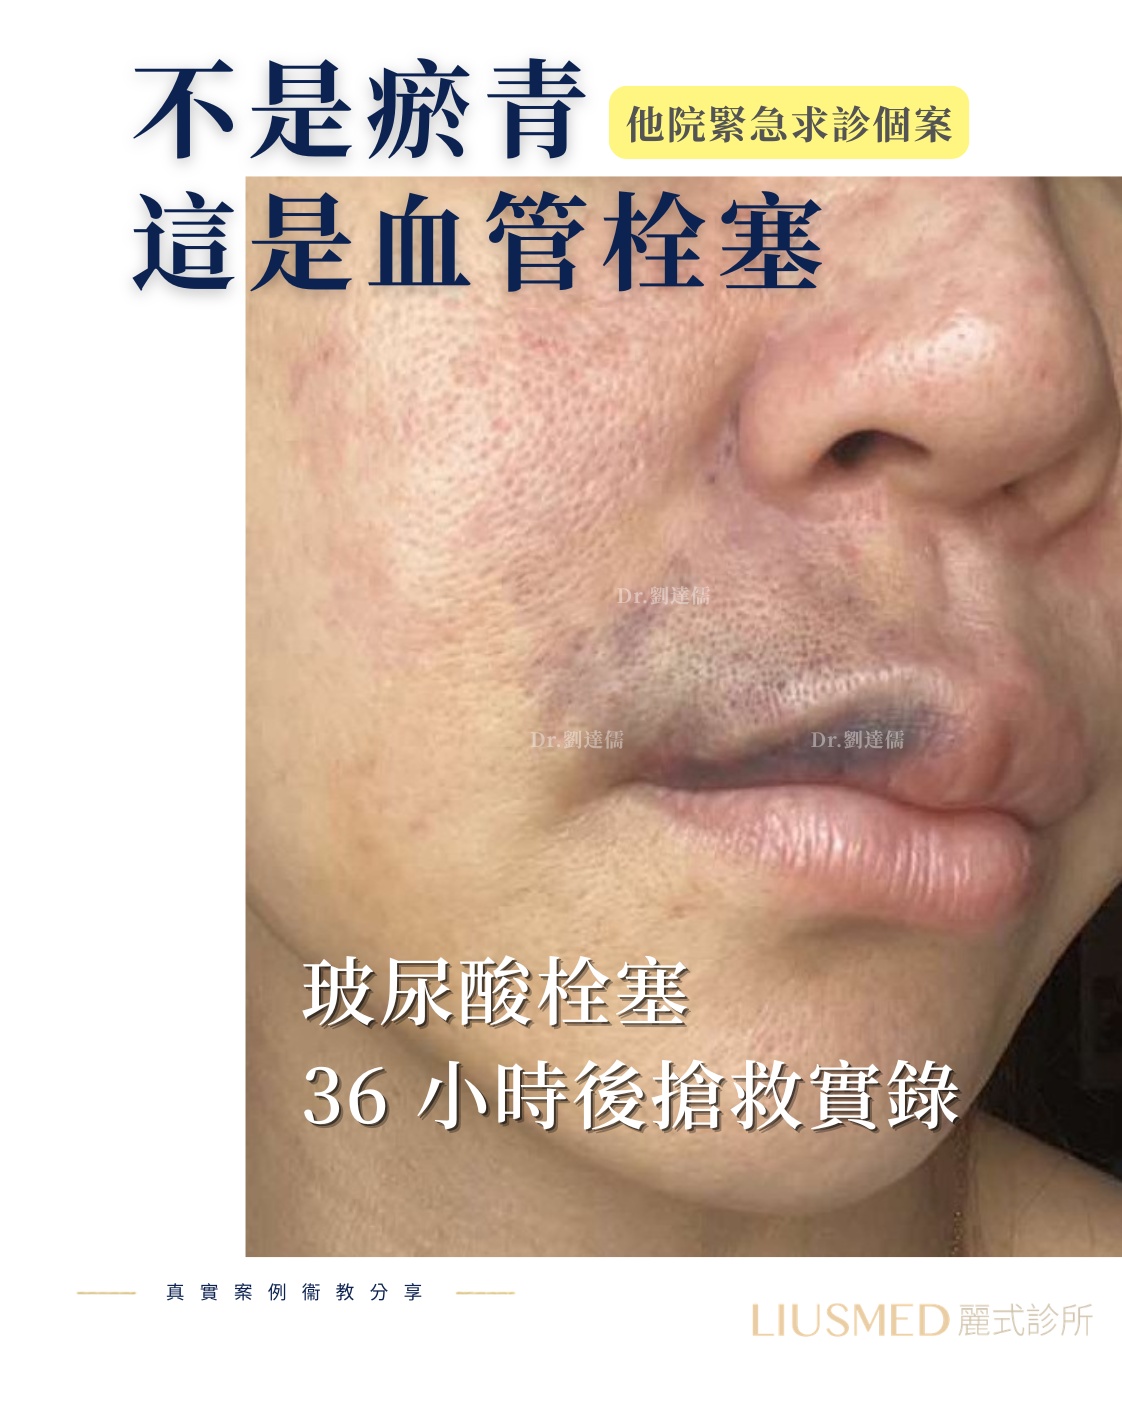
3. Vascular Occlusion Rescue
Tissue ischemia caused by filler entering or compressing blood vessels, requiring emergency localization and decompression. This is the most urgent indication — see our Vascular Occlusion Service.
Why FILLER REVISION's Pinhole Technique Resolves Cases Other Methods Cannot
The fundamental advantage of FILLER REVISION's approach is information superiority. Blind dissolution fails because the enzyme is injected without knowing where the filler actually is — it may miss the target entirely, or dissolve native tissue while leaving encapsulated filler untouched. Open surgery fails because the surgeon can only see what the incision exposes, missing deep or peripheral deposits. Our Ultrasound-Guided Pinhole Extraction solves both problems simultaneously: the ultrasound reveals every deposit regardless of depth or location, while the pinhole access minimizes tissue trauma. The "remove-then-verify" cycle we perform — extracting, scanning, and supplementing clearance in real time — is simply impossible without continuous ultrasound guidance. This is why patients who have exhausted other options consistently find resolution at FILLER REVISION.
Why Not Blind Dissolving or Traditional Excision?
Limitations of Blind Dissolving
Using hyaluronidase dissolution as an example — when the filler has already developed an encapsulation response:
- Dissolving enzymes cannot penetrate the fibrous capsule to reach the target
- Repeated dissolving enzyme injections may damage native hyaluronic acid in normal tissue
- Non-HA (Hyaluronic Acid) fillers have no corresponding dissolving agents at all
- There is no way to confirm whether dissolution was actually successful
The Cost of Traditional Open Excision
- Incisions far larger than the lesion area
- Obvious post-operative scarring
- Prolonged recovery period (typically 2–4 weeks)
- Greater risk of damaging normal tissue
- Low efficiency for deep or multi-point distributed fillers
The Importance of Pre-Operative Assessment
Not every patient is suitable for the same treatment approach. A complete pre-operative assessment includes:
- Detailed medical history: Injection timeline, materials, dosages, and treating physician information
- Comprehensive ultrasound scanning: Complete imaging documentation of filler distribution
- Tissue condition assessment: Skin elasticity, degree of fibrosis, neurovascular distribution
- Risk evaluation: Surgical risk based on lesion location, size, and material type
- Treatment plan formulation: Determining extraction scope, expected outcomes, and possible follow-up procedures
For more about the evaluation process, see Filler Repair Evaluation Process.
Post-Operative Care and Recovery
← Swipe to see more →
| Timeline | Expected Recovery |
|---|---|
| Day of surgery | Mild swelling, small dressing over pinhole site |
| Days 1–3 | Peak swelling, possible mild bruising |
| Days 5–7 | Swelling noticeably subsides, daily activities can resume |
| 2 weeks | Basic recovery, pinhole healed |
| 1–3 months | Tissue remodeling complete, final results visible |
When Are Staged Procedures Necessary?
Some complex cases may require staged treatment:
- Filler distribution covers an extremely wide area, making single-session operating time excessive
- Multiple different filler materials are present
- Severe tissue fibrosis and adhesion, requiring conservative stepwise management
- Post-extraction observation of tissue response is needed before determining the next step
Conclusion: FILLER REVISION's Core Technique — Seeing Is the Difference
The core value of Ultrasound-Guided Pinhole Extraction is not in the complexity of the surgery itself, but in fundamentally changing the basic logic of filler revision — from "guesswork-based treatment" to "vision-based treatment."
At FILLER REVISION, this technique is not an add-on or an upgrade — it is the foundation of every procedure we perform. When the physician can precisely localize every filler deposit before surgery, confirm operative accuracy in real time during surgery, and verify completeness of clearance after surgery, the success rate of revision naturally improves dramatically.
If you have been through failed dissolution, incomplete extraction, or have been told your case is untreatable, FILLER REVISION's pinhole technique may be the solution you have been looking for.
Frequently Asked Questions
I've had dissolving enzyme injections several times but the filler is still there. Can this technique help me?
This is one of the most common situations the technique was developed to address. Once filler has formed a fibrous encapsulation, dissolving enzyme often cannot penetrate the capsule to reach it, and non-HA fillers have no corresponding dissolving agent at all. Ultrasound-guided pinhole extraction does not rely on dissolving — it locates each deposit directly with real-time imaging and removes it physically, then re-scans to confirm clearance. Cases that have been through failed dissolution are exactly the kind this approach is designed for.
Will this leave a noticeable scar?
The incision size is strictly controlled to no more than 20% of the lesion area — for example, a 5 cm lump needs only an incision of about 1 cm. Because access is through a single pinhole-sized micro-incision, with no skin flap elevation or large-area dissection, the wound heals with virtually no visible trace. By around two weeks the pinhole has healed.
How long is the recovery, and when can I return to daily activities?
Most patients resume daily activities within about 3–5 days. Swelling peaks during days 1–3 with possible mild bruising, then noticeably subsides by days 5–7. The pinhole is generally healed by around two weeks, and tissue remodeling with the final result completes over roughly 1–3 months.
Does this technique work on filler types other than hyaluronic acid?
Yes. Because removal is based on locating the material with ultrasound rather than dissolving it, the technique applies to many filler types. Each material shows a distinct ultrasound appearance — hyaluronic acid, Radiesse (CaHA), Ellanse, Sculptra (PLLA), silicone/oil, PMMA, and even calcified autologous fat. Identification difficulty varies (silicone, for example, is harder due to its 'snowstorm' scatter pattern), which is part of why a thorough pre-operative ultrasound assessment is done first.
Why is ultrasound guidance better than the blind methods I've tried before?
The core problem with blind methods is that the physician cannot see the target in real time during the procedure. Ultrasound serves as a navigation system that shows each filler deposit's exact position, depth, and the boundary between filler and normal tissue. This lets the doctor remove material while sparing healthy structures, then re-scan after each area — the 'remove-then-verify' cycle — to confirm clearance and catch any residual. That continuous real-time confirmation is what blind dissolution and open excision cannot offer.
Will I need more than one session to remove everything?
Most cases are handled in one session, but some complex cases may need staged treatment. This applies when the filler is distributed over an extremely wide area that would make a single session too long, when several different filler materials are mixed together, when there is severe tissue fibrosis and adhesion requiring a conservative stepwise approach, or when tissue response needs to be observed after extraction before deciding the next step. Whether staging is needed is determined during the pre-operative assessment.