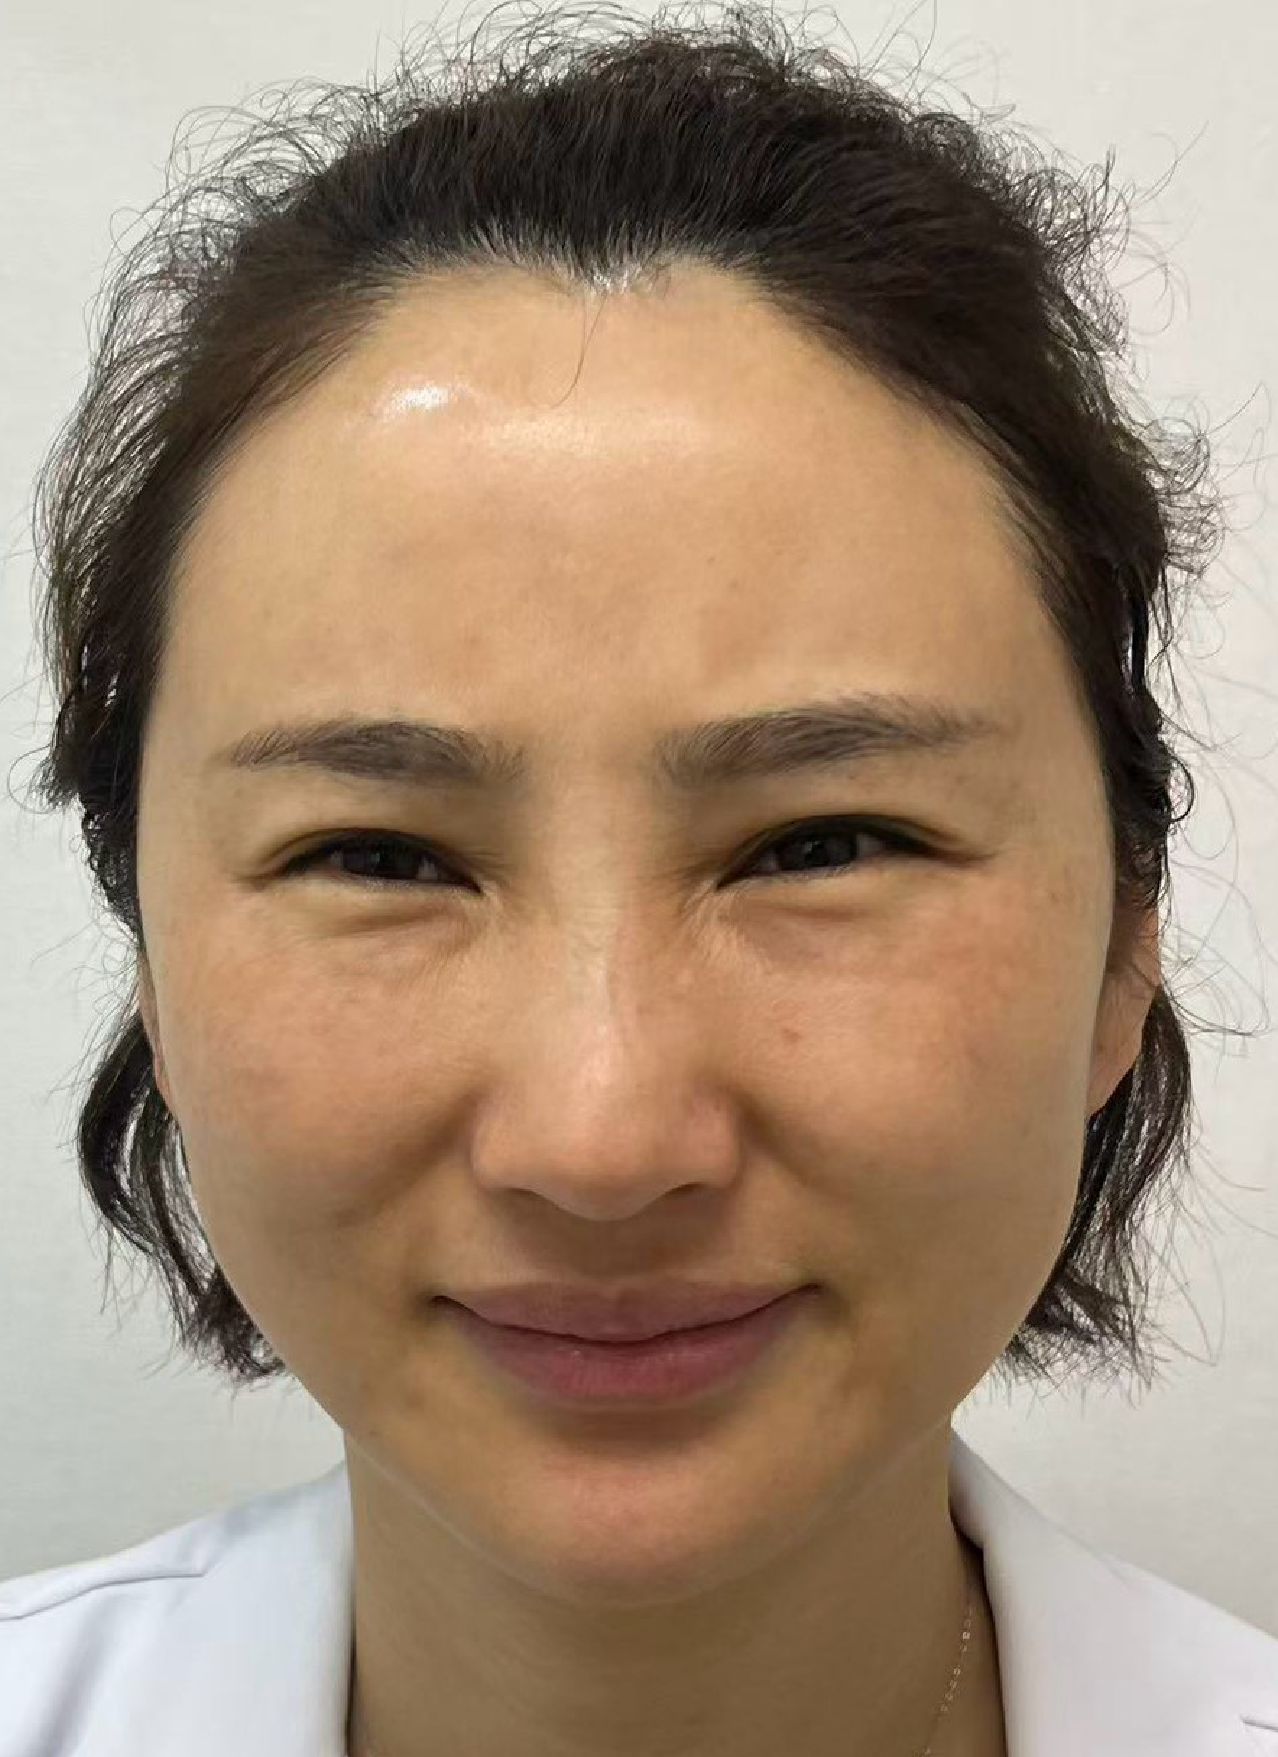
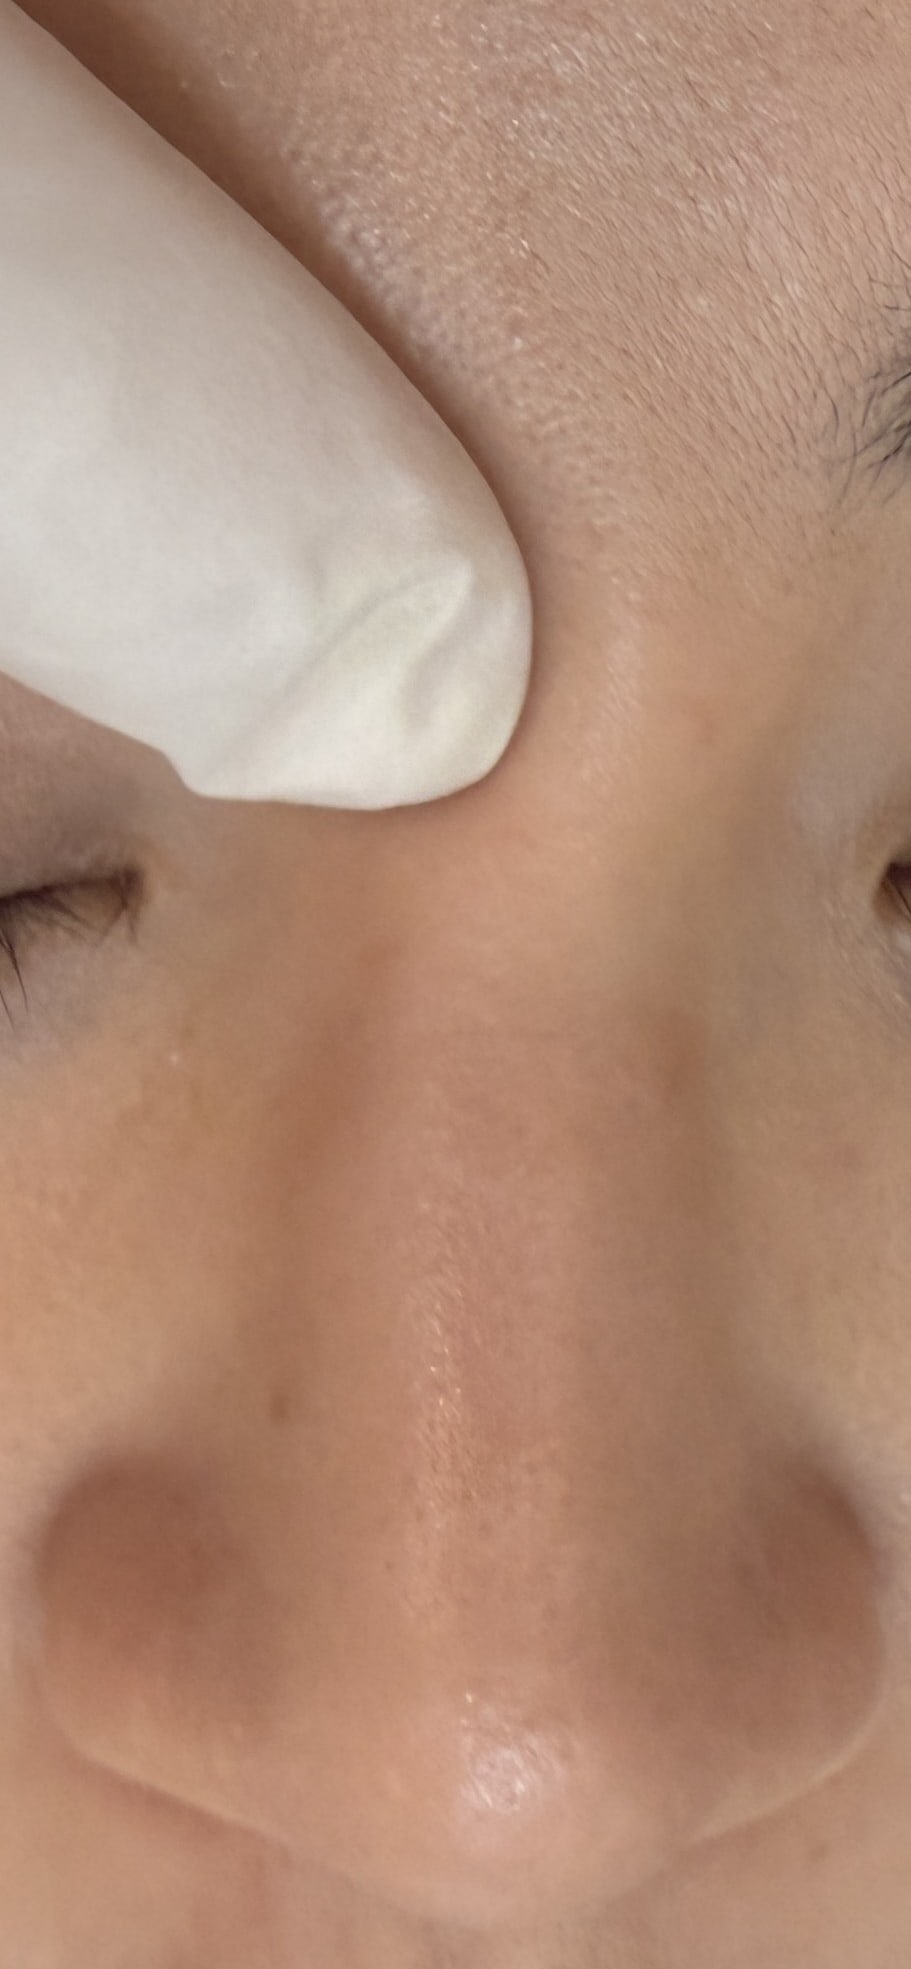
Failed Fat Grafting: A Revision Challenge Unlike Any Other Filler
"My doctor said because it's my own fat, there's nothing they can do — I just have to live with it." This is one of the most common things patients tell us when they first come to FILLER REVISION after a failed fat grafting procedure. In many cases fat graft revision is still possible — it requires careful ultrasound assessment to tell grafted fat from native tissue.
Autologous fat grafting was once considered the ideal filling material — using one's own tissue, with high biocompatibility and long-lasting results. However, when autologous fat grafting goes wrong, the revision difficulty often far exceeds that of other fillers.
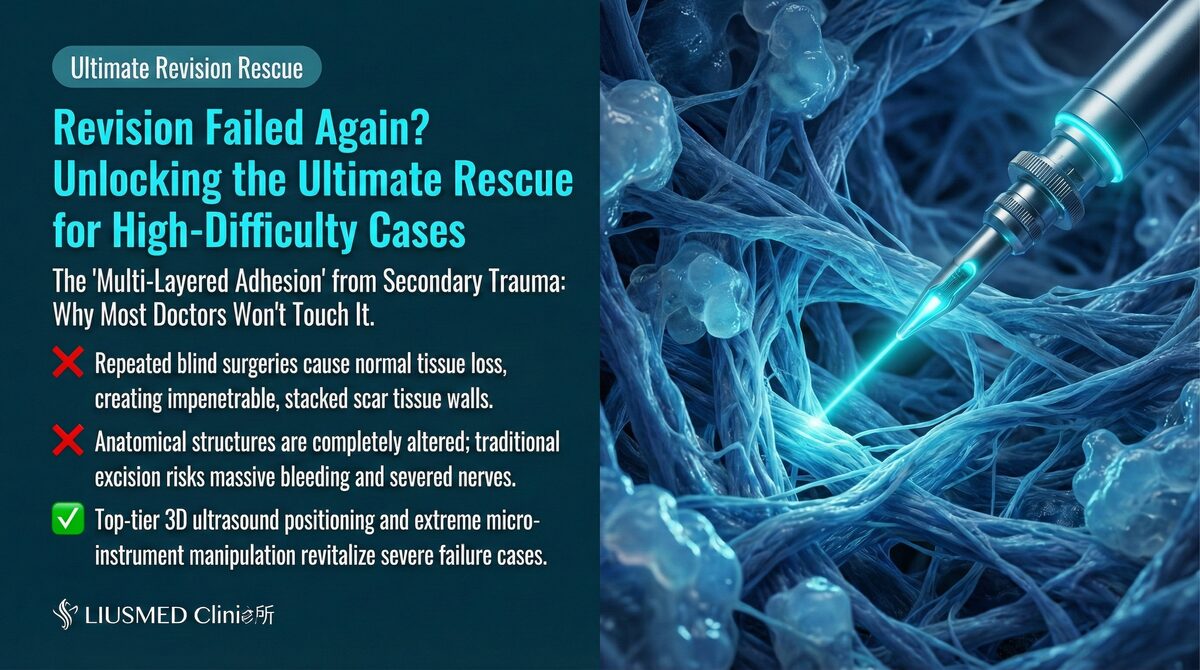
The reason: once autologous fat survives, it integrates with surrounding tissue, and boundaries become indistinct. This creates a fundamental surgical challenge — how to differentiate grafted fat from native tissue.
Key Insight: At FILLER REVISION, we've refined our ultrasound interpretation protocols specifically for fat graft cases. The core difficulty in fat graft revision is not "extraction" itself, but "identification." The boundary between grafted fat and native tissue is often unclear; only high-resolution ultrasound operated by experienced hands can provide real-time tissue discrimination during surgery.
Common Complications After Failed Fat Grafting
← Swipe to see more →
| Problem Type | Presentation | Cause |
|---|---|---|
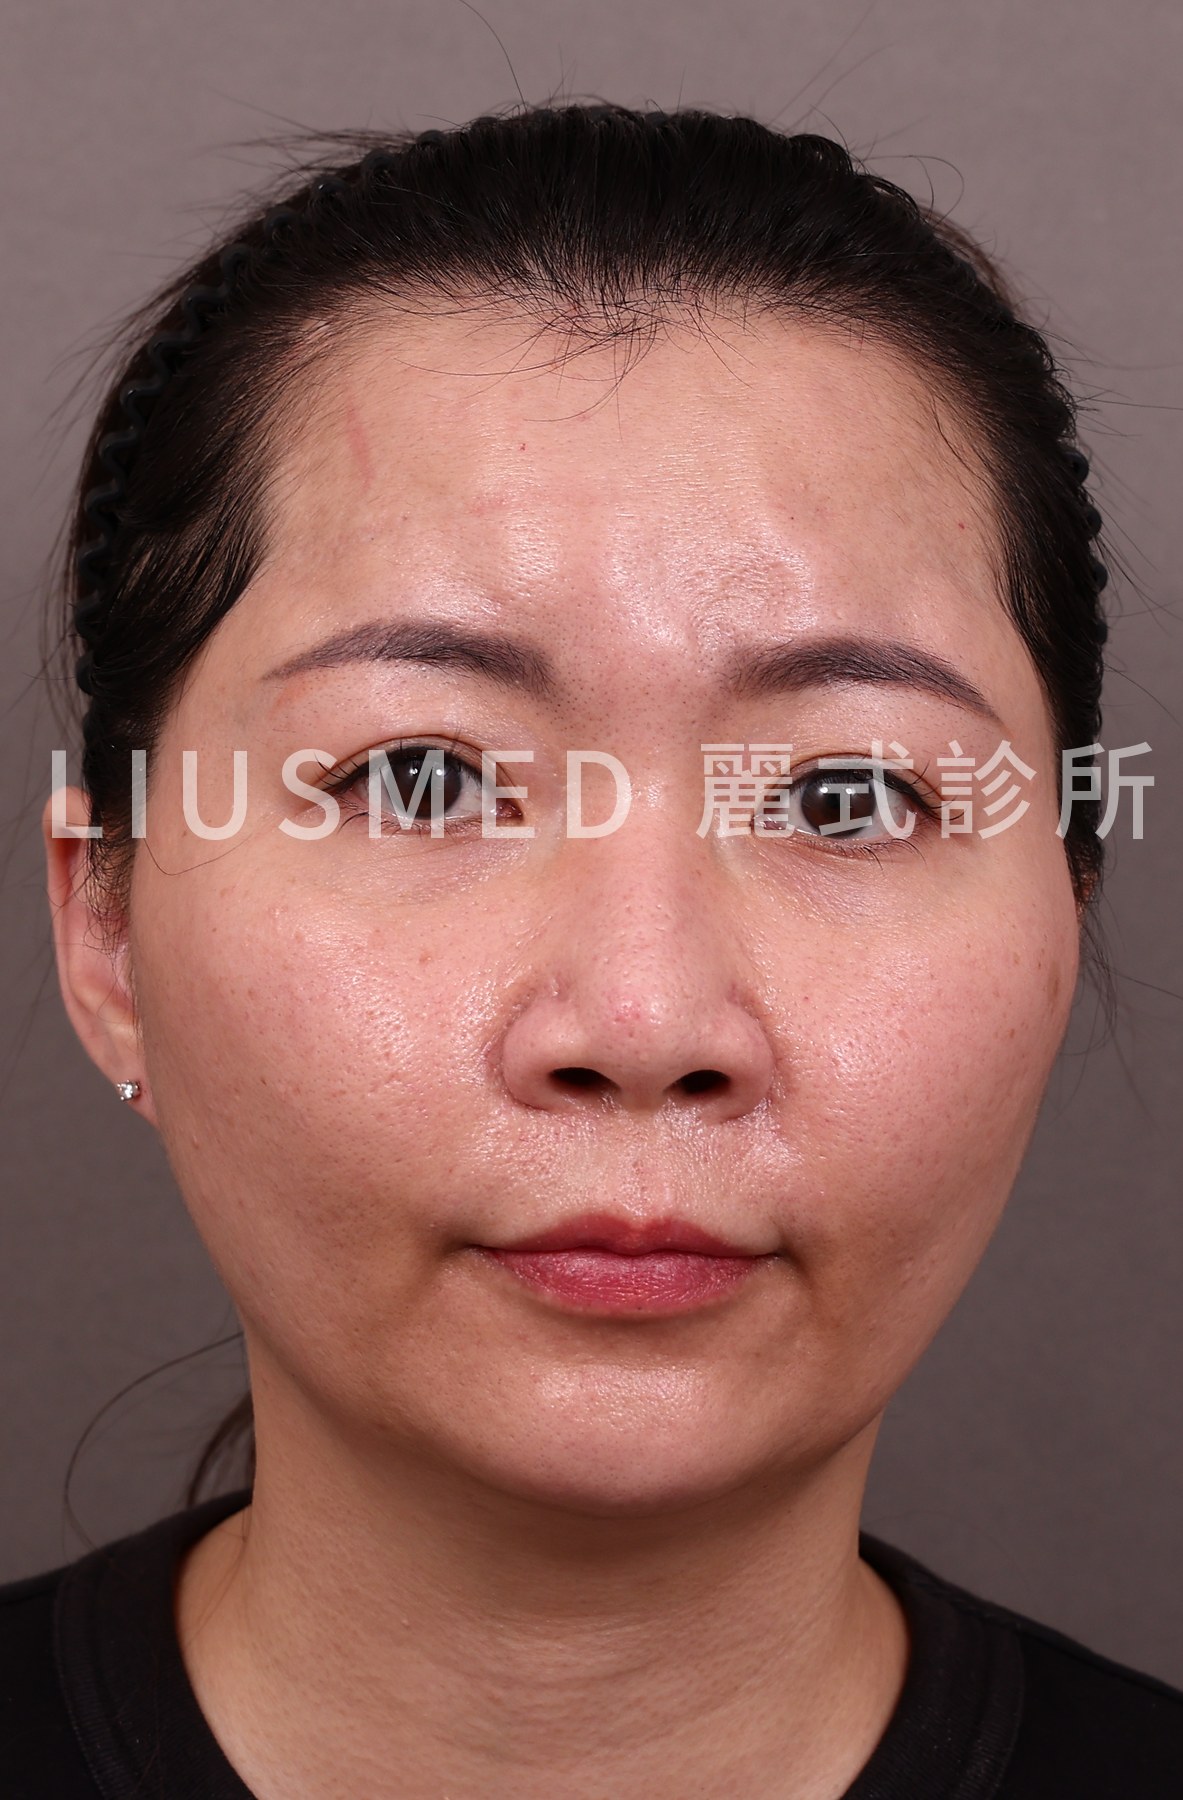
| Over-survival (pillow face) | Excessively full face, loss of natural contour | Too much volume injected or survival rate exceeding expectations |
| Uneven survival | Coexisting focal bulges and depressions | Inconsistent survival rates |
| Oil cysts | Soft, palpable lumps | Fat necrosis followed by liquefaction |
| Calcified nodules | Hard nodules | Long-term calcification of necrotic fat |
| Fibrosis | Hard texture, unnatural feel | Tissue reaction causing fibrous encapsulation |
| Asymmetry | Visibly different appearance on each side | Differential survival rates or uneven injection |
For more on pillow face correction, see Pillow Face Correction.
How Fat Graft Revision Differs from Other FILLER REVISION
← Swipe to see more →
| Comparison | Autologous Fat | HA (Hyaluronic Acid) Filler | Permanent Filler |
|---|---|---|---|
| Dissolvability | Cannot be dissolved | Can be dissolved with hyaluronidase | Cannot be dissolved |
| Tissue boundary | Blurred (integrates with native tissue) | Relatively distinct | May have fibrous capsule |
| Ultrasound (Ultrasonography) identification | Requires experienced interpretation | Relatively easy to identify | Varies by material |
| Extraction strategy | Requires meticulous separation | Can be aspirated or curetted | Must be removed with capsule |
| Residual risk | Higher | Lower | Moderate |
| Tissue damage risk | Higher (due to unclear boundaries) | Lower | Moderate |
Key Insight: Fat graft revision cannot use "dissolution" or "washout" approaches. Every milliliter of extraction requires precise operation under ultrasound guidance to avoid damaging normal tissue.
The Critical Role of Ultrasound in Fat Graft Revision
How Ultrasound Differentiates Grafted Fat from Native Tissue
← Swipe to see more →
| Ultrasound Feature | Grafted Fat | Normal Fat Tissue |
|---|---|---|
| Echo characteristics | Usually heterogeneous echogenicity | Homogeneous hypoechoic |
| Boundaries | May have fibrous capsule (hyperechoic line) | No distinct capsule |
| Blood flow signal | Surviving fat shows flow; necrotic does not | Normal flow distribution |
| Oil cysts | Anechoic area with posterior enhancement | Not present |
| Calcification | Hyperechoic foci with acoustic shadowing | Not present |
Specific Intraoperative Ultrasound Applications
- Complete pre-operative scan: Establishes a three-dimensional map of grafted fat distribution
- Real-time guidance: Directs instruments precisely to target locations
- Vascular protection: Color Doppler tracks critical vessels
- Extraction confirmation: Real-time verification of extraction progress
- Residual assessment: Confirms no missed fat masses
Regional Considerations for Fat Graft Extraction
Cheeks / Malar Region
← Swipe to see more →
| Item | Details |
|---|---|
| Common problems | Excessive fullness, unnatural "moon face" |
| Anatomical risks | Facial nerve, parotid duct |
| Extraction strategy | Layered extraction, preserving appropriate volume to maintain natural contour |
| Pinhole placement | Intraoral or concealed preauricular location (pinhole of about 2 mm, no incision) |
Forehead
← Swipe to see more →
| Item | Details |
|---|---|
| Common problems | Excessive protrusion or unevenness |
| Anatomical risks | Supraorbital artery, supratrochlear artery |
| Extraction strategy | Superficial-to-deep layered operation |
| Pinhole placement | Within the hairline (pinhole of about 2 mm, no incision) |
Temple
← Swipe to see more →
| Item | Details |
|---|---|
| Common problems | Unnatural fullness or hard lumps |
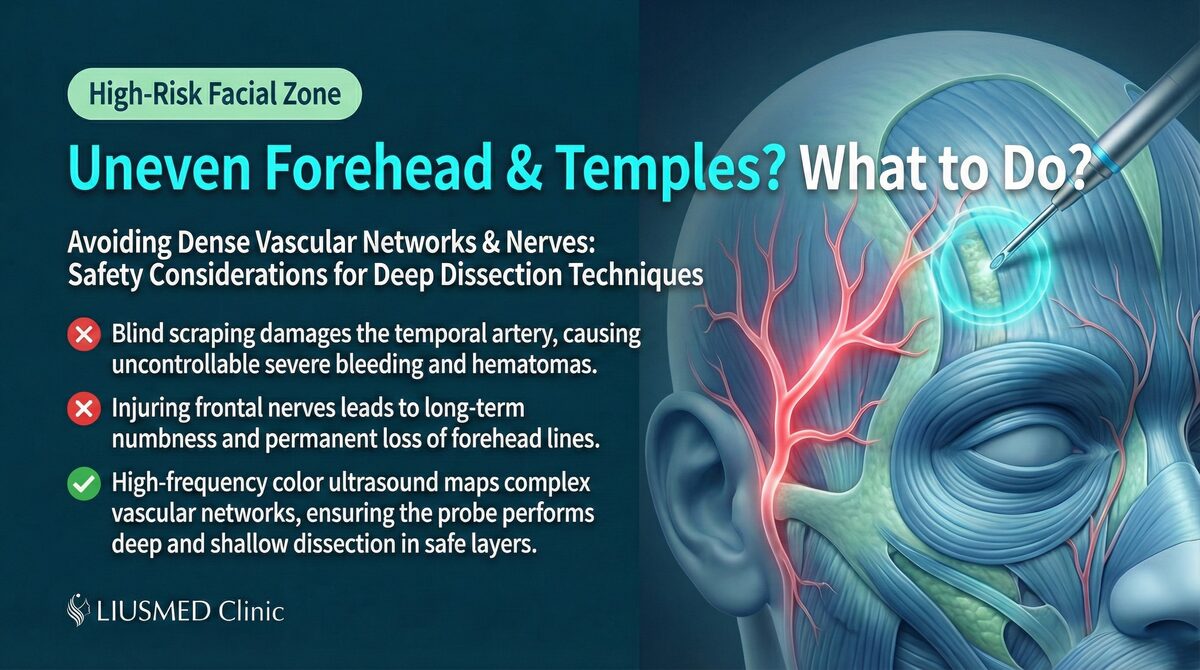
| Anatomical risks | Superficial temporal artery, temporal branch of facial nerve |
| Extraction strategy | Extremely cautious layered operation |
| Pinhole placement | Within the hairline, away from STA (Superficial Temporal Artery); pinhole of about 2 mm, no incision |
Chin / Jawline
← Swipe to see more →
| Item | Details |
|---|---|
| Common problems | Unclear contour or asymmetry |
| Anatomical risks | Marginal mandibular nerve, facial artery |
| Extraction strategy | Protecting jawline contour integrity |
| Pinhole placement | Posterior to mandibular angle or intraoral (pinhole of about 2 mm, no incision) |
Why Ultrasound Identification Is the Key to Fat Graft Revision
The reason fat graft revision is so difficult is fundamentally an imaging problem. Grafted fat that has survived and integrated looks almost identical to native fat on standard examination — visually and by palpation, they are indistinguishable. At FILLER REVISION, our physicians have developed specialized ultrasound interpretation protocols that identify subtle differences in echo patterns, capsule formation, and vascular flow signatures between grafted and native fat. This allows us to selectively extract only the problematic grafted tissue while leaving native structures completely intact. Combined with our conservative staged approach, this expertise transforms what other clinics call "impossible" into a routine — if methodical — procedure.
Surgical Workflow
Pre-Operative Assessment
← Swipe to see more →
| Assessment Item | Method | Purpose |
|---|---|---|
| Fat distribution | High-frequency full-face ultrasound scan | Confirm location and extent of fat deposits |
| Survival status | Color Doppler | Determine fat viability |
| Complication assessment | Ultrasound imaging | Confirm presence of cysts or calcification |
| Vascular mapping | Color Doppler | Plan safe pathways |
| Symmetry assessment | Bilateral ultrasound comparison | Set extraction goals |
Surgical Execution
- Precise marking: Mark target extraction zones based on ultrasound findings
- Pinhole entry: Enter through a pinhole of about 2 mm at the most concealed location, with no incision; large or deep areas are divided into zones and may use 2–3 pinholes
- Real-time ultrasound guidance: Full-procedure ultrasound monitoring
- Selective extraction: Remove only problematic fat, preserving normal tissue
- Staged procedures: Severe cases may be staged; the number of sessions varies from person to person
- Real-time symmetry assessment: Compare both sides at each stage
Key Insight: Fat graft extraction should follow a "conservative first" strategy. Hollowing from over-extraction is harder to correct than a modest residual amount. Staged extraction allows the physician to assess tissue recovery between procedures and make more precise decisions.
Post-Extraction Reconstruction Strategies
← Swipe to see more →
| Scenario | Approach | Timing |
|---|---|---|
| Mild depression | Allow natural tissue recovery | Observe for at least about 3 months |
| Significant depression | Precise small-volume HA supplementation | After tissue stabilization (at least about 3 months) |
| Contour irregularity | Staged contouring | Adjusted based on recovery progress |
| Severe asymmetry | Comprehensive reconstruction plan | Case-by-case assessment |
Post-Operative Care and Recovery
← Swipe to see more →
| Timeline | Expected Presentation | Care Recommendations |
|---|---|---|
| Early days | Swelling and bruising are most noticeable | Ice packs, avoid compression |
| About 2–3 weeks | Swelling and bruising mostly settled; the pinhole heals in about 2 weeks | Gradually resume daily activities as advised |
| About 3 months | The final result, varying from person to person | Assess whether further treatment is needed |
After extraction there is a period in which the swelling settles and firmness gradually softens; we go through the details at your consultation.
Conclusion: FILLER REVISION's Meticulous Approach to Fat Graft Revision
Revision of failed autologous fat grafting is one of the most technically demanding surgeries in the filler revision field. "See before you treat" — when the boundary between grafted fat and native tissue is unclear, ultrasound guidance is not an option but a necessity.
At FILLER REVISION, many of the fat grafting cases we see are ones where the patient had been told nothing could be done. If you have been told your fat grafting complications cannot be corrected, we encourage you to get a second opinion backed by ultrasound evidence.
Related reading: Pillow Face Correction, Filler Lump Extraction Technique, Filler Repair Evaluation Process
Frequently Asked Questions
My doctor told me that because it's my own fat, nothing can be done. Is fat graft revision actually possible?
Fat graft revision is possible, even when you have been told otherwise. The real difficulty is not the extraction itself but identification — once grafted fat survives, it integrates with surrounding tissue and the boundary becomes unclear. High-resolution ultrasound operated by an experienced physician can provide real-time tissue discrimination during surgery, which is what makes revision achievable. If you have been told your complications cannot be corrected, a second opinion backed by ultrasound evidence is reasonable.
Why is fat graft revision harder than fixing a hyaluronic acid (HA) filler?
Unlike HA filler, autologous fat cannot be dissolved or washed out — there is no hyaluronidase equivalent for it. Once survived fat integrates with native tissue, the boundary is blurred rather than relatively distinct, so it carries a higher residual and tissue-damage risk. Every milliliter of extraction requires precise operation under ultrasound guidance to avoid damaging normal tissue.
How do you make sure you remove only the problematic fat and not my healthy tissue?
The approach is selective extraction under full-procedure ultrasound monitoring — removing only problematic fat while preserving normal tissue. Before surgery, a high-frequency full-face ultrasound scan establishes a three-dimensional map of the grafted fat, and color Doppler tracks critical vessels to plan safe pathways. During surgery, real-time ultrasound directs instruments to target locations and confirms no fat masses are missed.
I'm worried about ending up with a hollow or sunken area. How is that risk managed?
Extraction follows a "conservative first" strategy, because hollowing from over-extraction is harder to correct than a modest residual amount. Severe cases may be done as staged procedures (the number varies from person to person) so tissue recovery can be assessed between sessions and decisions made more precisely. For a mild depression afterward, natural tissue recovery is observed for at least about 3 months; for a significant depression, precise small-volume HA supplementation may be considered after the tissue stabilizes.
Will I need more than one surgery?
It depends on the extent and severity, and a single procedure can't be promised in advance. Depending on the extent and depth, it may need to be done zone by zone, in stages, or over more than one session, and how many sessions are needed varies from person to person, depending on the amount of fat, the degree of fibrosis and how far it has shifted. Staging is deliberately chosen because it lets the physician assess how the tissue recovers between procedures and make more precise extraction decisions each time, rather than removing too much at once.
What is recovery like after the extraction, and when will I see the final result?
The pinhole is small, but this is an extraction, so swelling and bruising are expected; they are managed with ice packs while avoiding compression. Swelling and bruising usually settle in about 2–3 weeks, the pinhole heals in about 2 weeks, and the final result takes about 3 months, varying from person to person; that is when the need for any further treatment is assessed.